complete in one step! RabbitMQ from installation to SpringBoot integration
complete in one step! RabbitMQ from installation to SpringBoot integration
windows installation
Two things need to be installed
1.Erlang (can be understood as only I can have him)
2.RabbitMQ-server
Website: RabbitMQ official website
1. After entering, scroll down and click on the following
2. Go to the upper right corner and click install: windows
3. Click and pull down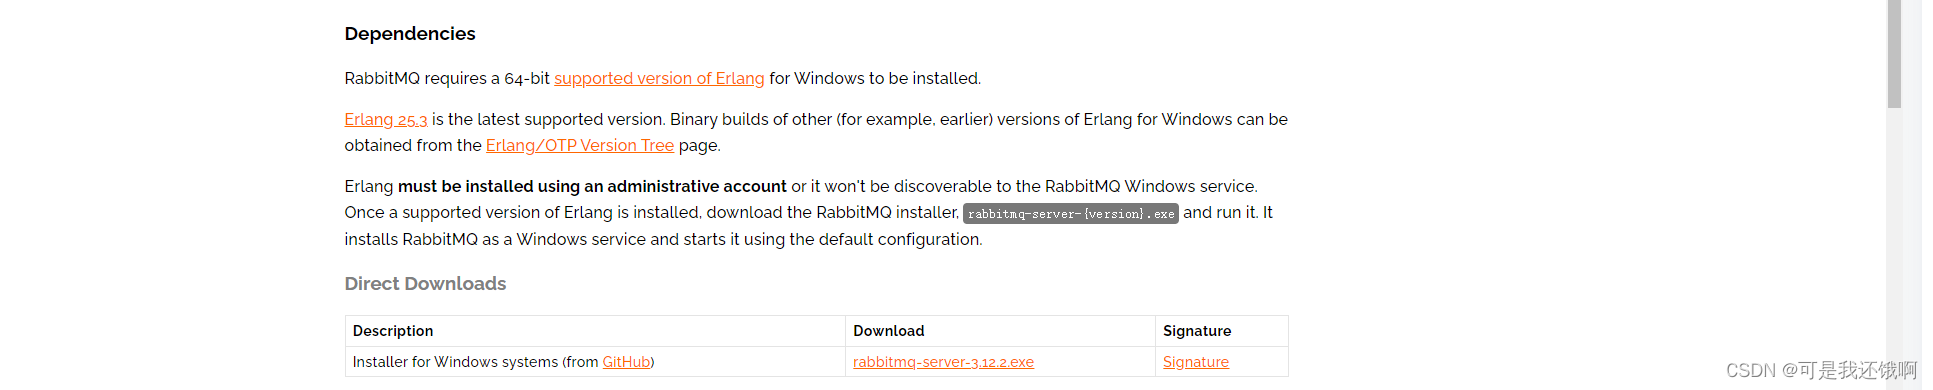
Key point : There is a version correspondence between the two things to be downloaded, and the correspondence is in the supported version of Erlang .
The Erlang download address is the Erlang/OTP Version Tree on the way, and the Rabbitmq download address can be seen in the DownLoad below.
If you don't want to bother like me, then download the latest one directly ,click on itfirst , and thenlook for the highest version after entering.
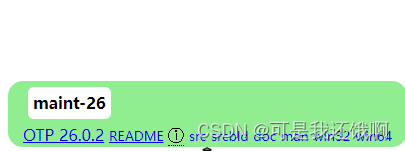
Click on the windows64download .
Finally download rabbitmq-server in the bottom box.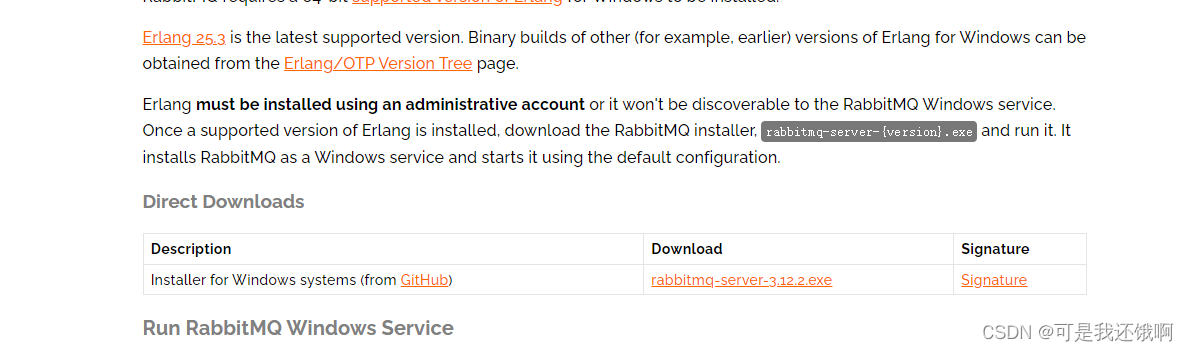
4.Installation
erl installation: After selecting the path, keep going next.
Rabbitmq installation : The response may be slow after clicking, just wait for a while.
5. Configuration.
Erl environment variable configuration: Find the bin file path after installation and copy
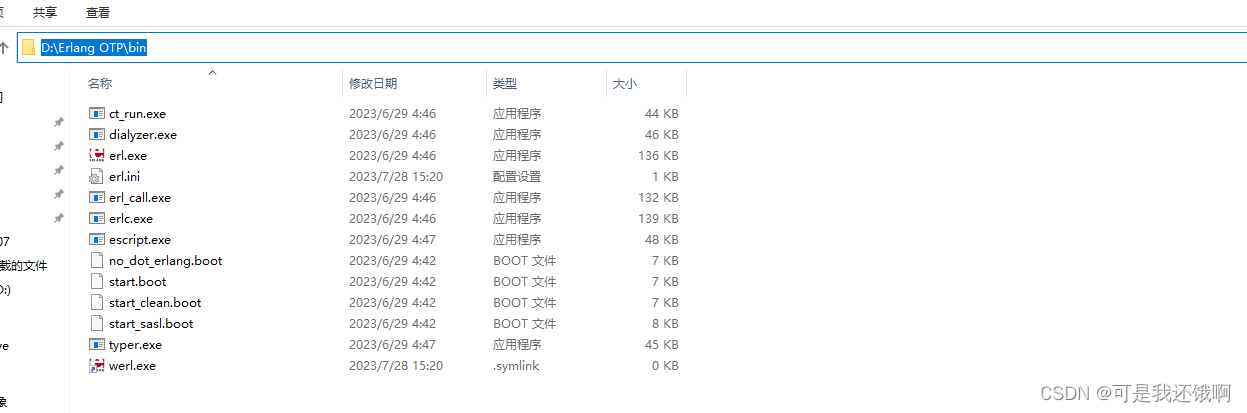
Find the system path and throw it in it.
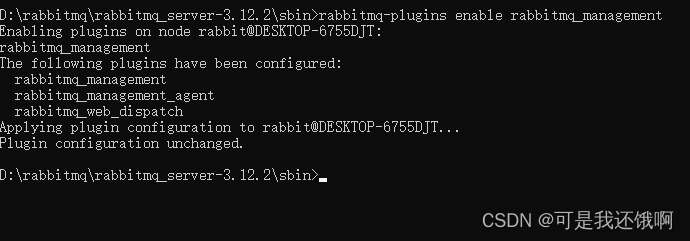
rabbitmq-server configuration: Find the sbin file in the installation path and enter cmd
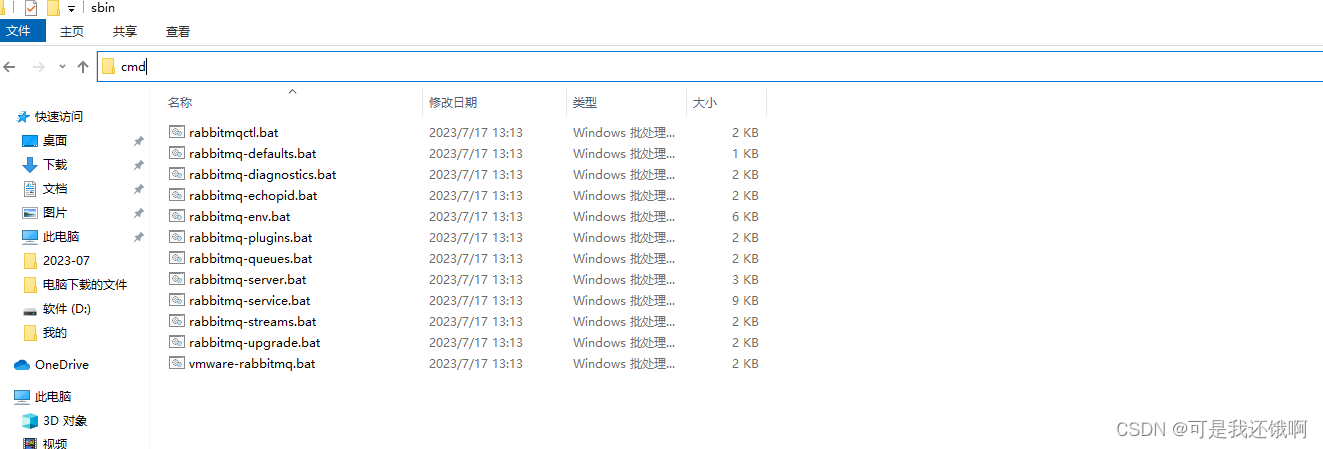
After entering, throw the command: rabbitmq-plugins enable rabbitmq_management
6.Verification

springboot integrates Rabbitmq
1. Create two new modules

2. Two modules import dependencies
      2.         <dependency>

      3.             <groupId>org.springframework.boot</groupId>

      4.             <artifactId>spring-boot-starter-amqp</artifactId>

      5.         </dependency>

      6.         <!--整合mq-->
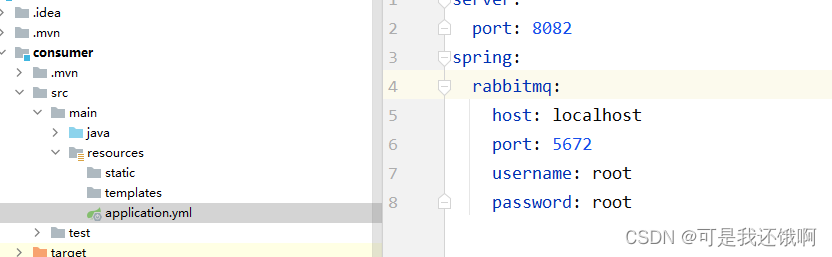
3. Both modules are configured with yml. The initial account password is guest, guest. I have added it here, so mine is root.
The method of adding is as follows, enter the cmd of rabbitmq's sbin directory and run the following 4 lines of commands.
      2. rabbitmqctl set_user_tags root administrator

      3. rabbitmqctl set_permissions -p / root ".*" ".*" ".*"

      4. //查看用户命令

      5. rabbitmqctl list_users
consumer
quartz

4.quartz is used as a producer to produce things.
Then I need to configure the queue and switch, and then bind them. This is the basic configuration.
      2.

      3. import org.springframework.amqp.core.*;

      4. import org.springframework.beans.factory.annotation.Qualifier;

      5. import org.springframework.context.annotation.Bean;

      6. import org.springframework.context.annotation.Configuration;

      7. @Configuration

      8. public class RabbitmqConfig {

      9.

      10.     public static final String QUEUE_INFORM_EMAIL = "queue_inform_email";

      11.     public static final String QUEUE_INFORM_SMS = "queue_inform_sms";

      12.     public static final String EXCHANGE_TOPICS_INFORM="exchange_topics_inform";

      13.     public static final String ROUTINGKEY_EMAIL="inform.#.email.#";

      14.     public static final String ROUTINGKEY_SMS="inform.#.sms.#";

      15.

      16.     //声明交换机

      17.     @Bean(EXCHANGE_TOPICS_INFORM)

      18.     public Exchange EXCHANGE_TOPICS_INFORM(){

      19.         //durable(true) 持久化,mq重启之后交换机还在

      20.         return ExchangeBuilder.topicExchange(EXCHANGE_TOPICS_INFORM).durable(true).build();

      21.     }

      22.

      23.     //声明QUEUE_INFORM_EMAIL队列

      24.     @Bean(QUEUE_INFORM_EMAIL)

      25.     public Queue QUEUE_INFORM_EMAIL(){

      26.         return new Queue(QUEUE_INFORM_EMAIL);

      27.     }

      28.     //声明QUEUE_INFORM_SMS队列

      29.     @Bean(QUEUE_INFORM_SMS)

      30.     public Queue QUEUE_INFORM_SMS(){

      31.         return new Queue(QUEUE_INFORM_SMS);

      32.     }

      33.

      34.     //ROUTINGKEY_EMAIL队列绑定交换机,指定routingKey

      35.     @Bean

      36.     public Binding BINDING_QUEUE_INFORM_EMAIL(@Qualifier(QUEUE_INFORM_EMAIL) Queue queue,

      37.                                               @Qualifier(EXCHANGE_TOPICS_INFORM) Exchange exchange){

      38.         return BindingBuilder.bind(queue).to(exchange).with(ROUTINGKEY_EMAIL).noargs();

      39.     }

      40.     //ROUTINGKEY_SMS队列绑定交换机,指定routingKey

      41.     @Bean

      42.     public Binding BINDING_ROUTINGKEY_SMS(@Qualifier(QUEUE_INFORM_SMS) Queue queue,

      43.                                           @Qualifier(EXCHANGE_TOPICS_INFORM) Exchange exchange){

      44.         return BindingBuilder.bind(queue).to(exchange).with(ROUTINGKEY_SMS).noargs();

      45.     }

      46.

      47. }
After configuring, I will send it and write a test class to send data to the specified queue.
      2.

      3. import org.junit.Test;

      4. import org.junit.runner.RunWith;

      5. import org.springframework.amqp.rabbit.core.RabbitTemplate;

      6. import org.springframework.beans.factory.annotation.Autowired;

      7. import org.springframework.boot.test.context.SpringBootTest;

      8. import org.springframework.test.context.junit4.SpringRunner;

      9.

      10. @SpringBootTest

      11. @RunWith(SpringRunner.class)

      12. public class TestProducer {

      13.     @Autowired

      14.     RabbitTemplate rabbitTemplate;

      15.

      16.     @Test

      17.     public void Producer_topics_springbootTest() {

      18.

      19.         //使用rabbitTemplate发送消息

      20.         String message = "send email message to user";

      21.         /**

      22.          * 参数:

      23.          * 1、交换机名称

      24.          * 2、routingKey

      25.          * 3、消息内容

      26.          */

      27.         rabbitTemplate.convertAndSend(RabbitmqConfig.EXCHANGE_TOPICS_INFORM, "inform.email", message);

      28.     }

      29. }
Start writing the consumer. There are two things. One is the same basic Rabbitmq configuration as quarz, and the other is to monitor queue messages and consume them.

RabbitmqConfig
      2.

      3. import org.springframework.amqp.core.*;

      4. import org.springframework.beans.factory.annotation.Qualifier;

      5. import org.springframework.context.annotation.Bean;

      6. import org.springframework.context.annotation.Configuration;

      7.

      8. @Configuration

      9. public class RabbitmqConfig {

      10.

      11.     public static final String QUEUE_INFORM_EMAIL = "queue_inform_email";

      12.     public static final String QUEUE_INFORM_SMS = "queue_inform_sms";

      13.     public static final String EXCHANGE_TOPICS_INFORM="exchange_topics_inform";

      14.     public static final String ROUTINGKEY_EMAIL="inform.#.email.#";

      15.     public static final String ROUTINGKEY_SMS="inform.#.sms.#";

      16.

      17.     //声明交换机

      18.     @Bean(EXCHANGE_TOPICS_INFORM)

      19.     public Exchange EXCHANGE_TOPICS_INFORM(){

      20.         //durable(true) 持久化,mq重启之后交换机还在

      21.         return ExchangeBuilder.topicExchange(EXCHANGE_TOPICS_INFORM).durable(true).build();

      22.     }

      23.

      24.     //声明QUEUE_INFORM_EMAIL队列

      25.     @Bean(QUEUE_INFORM_EMAIL)

      26.     public Queue QUEUE_INFORM_EMAIL(){

      27.         return new Queue(QUEUE_INFORM_EMAIL);

      28.     }

      29.     //声明QUEUE_INFORM_SMS队列

      30.     @Bean(QUEUE_INFORM_SMS)

      31.     public Queue QUEUE_INFORM_SMS(){

      32.         return new Queue(QUEUE_INFORM_SMS);

      33.     }

      34.

      35.     //ROUTINGKEY_EMAIL队列绑定交换机,指定routingKey

      36.     @Bean

      37.     public Binding BINDING_QUEUE_INFORM_EMAIL(@Qualifier(QUEUE_INFORM_EMAIL) Queue queue,

      38.                                               @Qualifier(EXCHANGE_TOPICS_INFORM) Exchange exchange){

      39.         return BindingBuilder.bind(queue).to(exchange).with(ROUTINGKEY_EMAIL).noargs();

      40.     }

      41.     //ROUTINGKEY_SMS队列绑定交换机,指定routingKey

      42.     @Bean

      43.     public Binding BINDING_ROUTINGKEY_SMS(@Qualifier(QUEUE_INFORM_SMS) Queue queue,

      44.                                           @Qualifier(EXCHANGE_TOPICS_INFORM) Exchange exchange){

      45.         return BindingBuilder.bind(queue).to(exchange).with(ROUTINGKEY_SMS).noargs();

      46.     }

      47.

      48. }
ReceiveHandler
      2.

      3. import com.rabbitmq.client.Channel;

      4. import org.springframework.amqp.core.Message;

      5. import org.springframework.amqp.rabbit.annotation.RabbitListener;

      6. import org.springframework.stereotype.Component;

      7.

      8. @Component

      9. public class ReceiveHandler {

      10.     //监听email队列

      11.     @RabbitListener(queues = {RabbitmqConfig.QUEUE_INFORM_EMAIL})

      12.     public void receive_email(Object msg, Message message, Channel channel){

      13.         System.out.println("QUEUE_INFORM_EMAIL msg"+msg);

      14.     }

      15.     //监听sms队列

      16.     @RabbitListener(queues = {RabbitmqConfig.QUEUE_INFORM_SMS})

      17.     public void receive_sms(Object msg, Message message, Channel channel){

      18.         System.out.println("QUEUE_INFORM_SMS msg"+msg);

      19.     }

      20. }
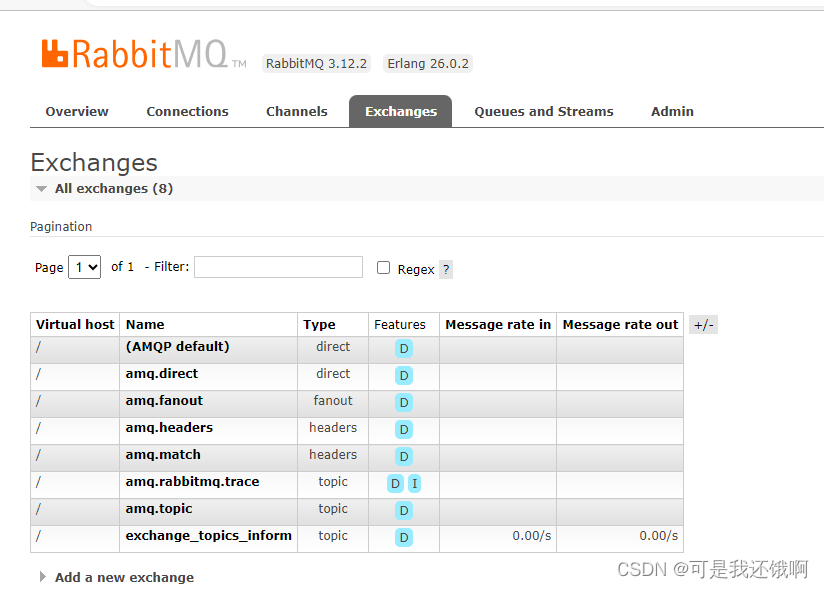
Okay, after writing both the producer and the consumer, enter the URL 127.0.0.1:15672. After entering, run thetest class of the producer above.

Then you can see that the switch name you defined appears on the switch.
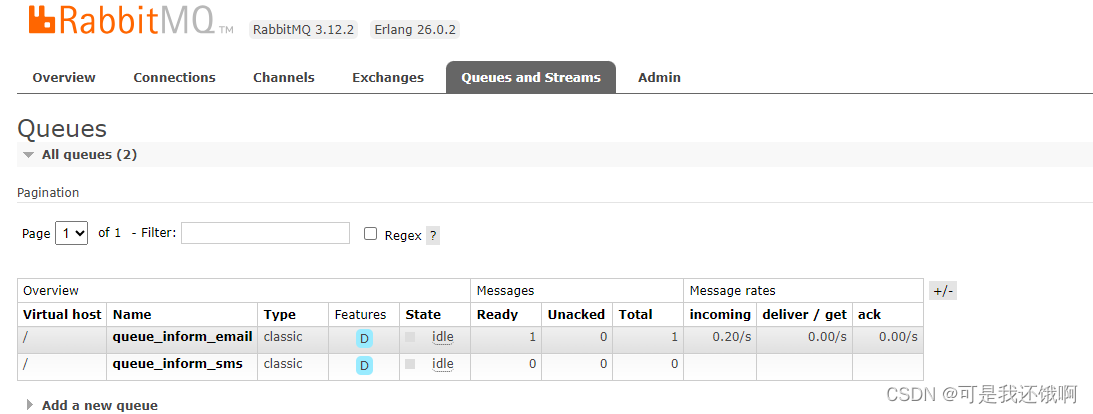
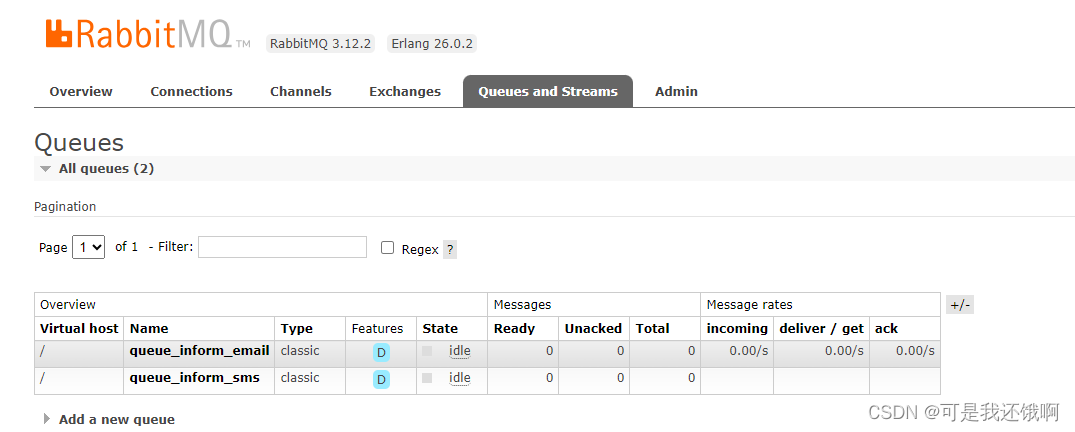
Click queues and Stream, and you will see the two queues you defined, and in the email queue, there is a message waiting to be consumed.
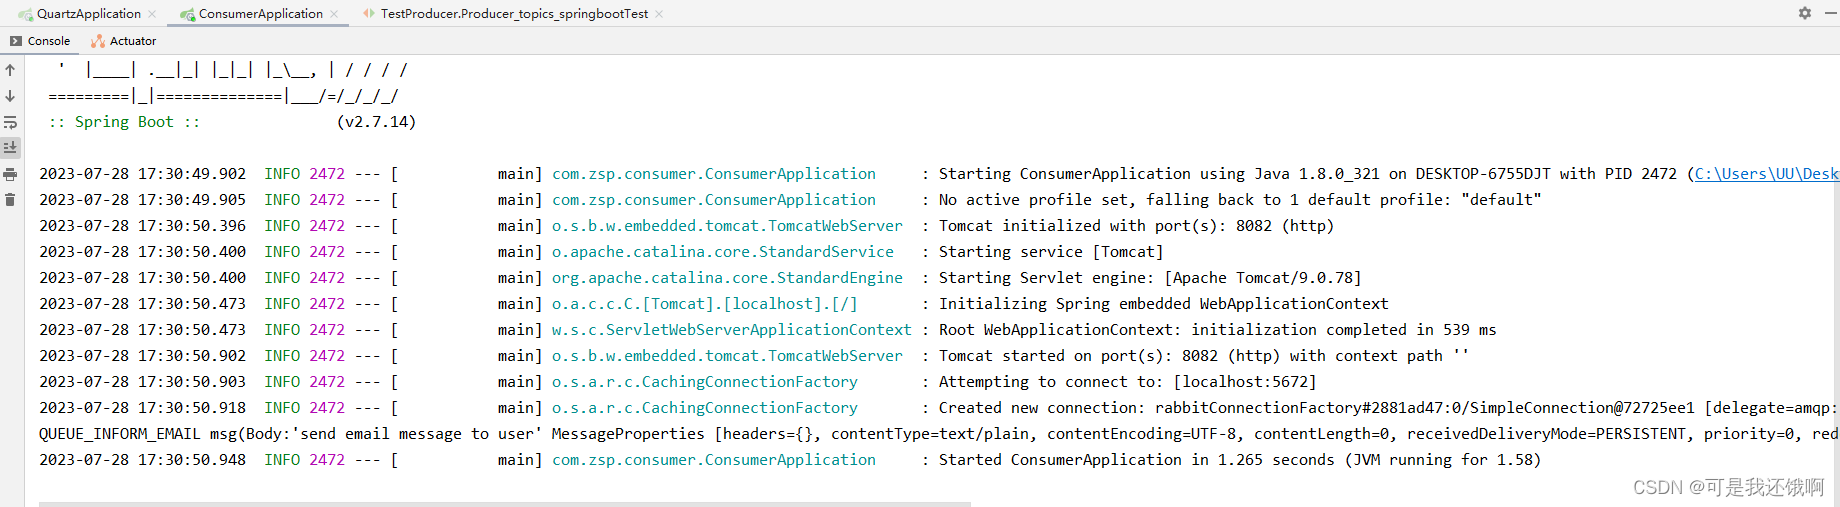
At this time we runthe consumer module .
You will find that the producer's message is printed directly on the console, and when you look back at rabbitmq, the record has disappeared, indicating that it has been consumed.
That’s it for everything, from installation to simple use. Please give it a like if you find it useful.