centos installation rabbitMQ
centos installation rabbitMQ
View RabbitMQ startup status: rabbitmqctl status
Link: https://pan.baidu.com/s/14dqCIAbmRcAp-IJx5HzxYw
Extraction code: g48t

1. Since RabbitMQ depends on Erlang, Erlang needs to be installed first .
First download Erlang download address "http://www.erlang.org/downloads/"
2. Upload the downloaded source code to the Linux server
3. You need to install dependencies before installation
"yum install ncurses-devel"
4. Unzip the file
"tar xf otp_src_20.1.tar.gz"

5. Switch to the decompressed directory "cd otp_src_20.1" and then execute the installation command "./configure --prefix=/usr/local/erlang --without-javac". The following interface will appear, indicating that the installation is successful.
6. Compile, enter the command "make" and wait patiently for the compilation to be successful.
7. Then execute the installation command "make install"
8. Check the installation results, first enter the installation directory "cd /usr/local/erlang/"
9. Enter the bin directory and execute the "./erl" command.

10. Next, you need to install rabbitMQ. You should upload the file to Linux first.

11. Because the suffix is "XZ", use the command "xz -d rabbitmq-server-generic-unix-3.7.7.tar.xz" first.
12. Then unzip the tar file. Command "tar xf rabbitmq-server-generic-unix-3.7.7.tar"
13. You still need to install several dependencies. The commands are:
yum install python -y
yum install xmlto -y
yum install python-simplejson -y
14. Move the file to the specified location "mv rabbitmq_server-3.7.7 /usr/local/rabbitmq"
15. Enter the installation directory "cd /usr/local/rabbitmq/sbin/"
16. Use the command "vim /etc/profile" to add at the bottom of the file
"export PATH=$PATH:/usr/local/ruby/bin:/usr/local/erlang/bin:/usr/local/rabbitmq/sbin"
"/usr/local/ruby/bin:" is written unchanged, and others are written according to the actual path.

17 "source /etc/profile" makes the modified file take effect
18. Start rabbitMQ (can be skipped)
[root@localhost sbin]#./rabbitmq-server
19. Start RabbitMq in the background
[root@localhost sbin]#./rabbitmq-plugins enable rabbitmq_management #启动后台管理
[root@localhost sbin]#./rabbitmq-server -detached #后台运行rabbitmq
20.Set username and password
Since the guest user is restricted and can only be accessed through localhost, we need to create a new user and grant administrator rights.
Create a new user with the username admin and password admin, and grant administrator permissions
[root@localhost sbin]#./rabbitmqctl add_user admin 123
[root@localhost sbin]#./rabbitmqctl set_user_tags admin administrator
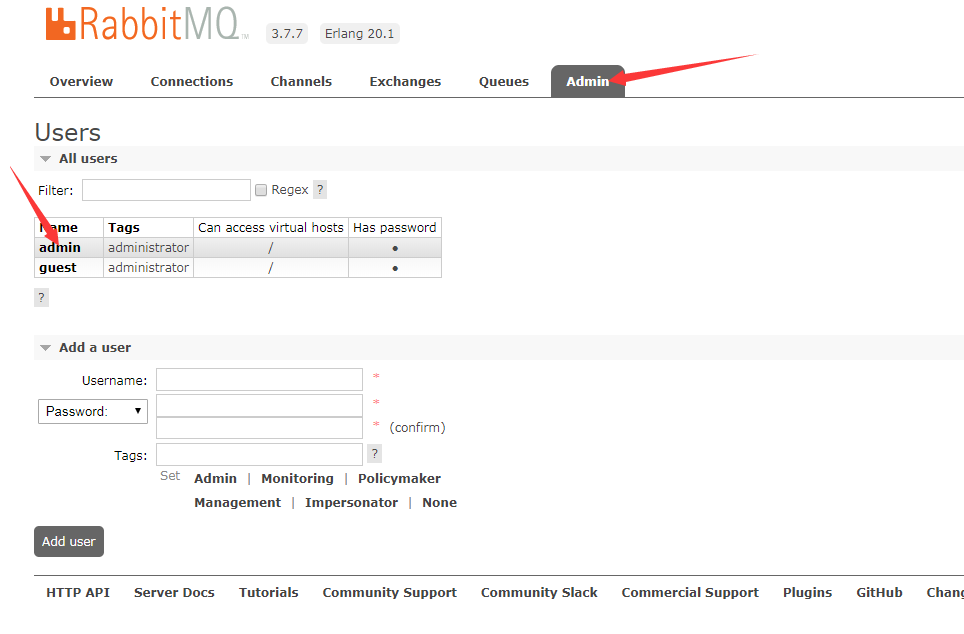
21 Log in to the RabbitMq management background http://server IP address: 15672
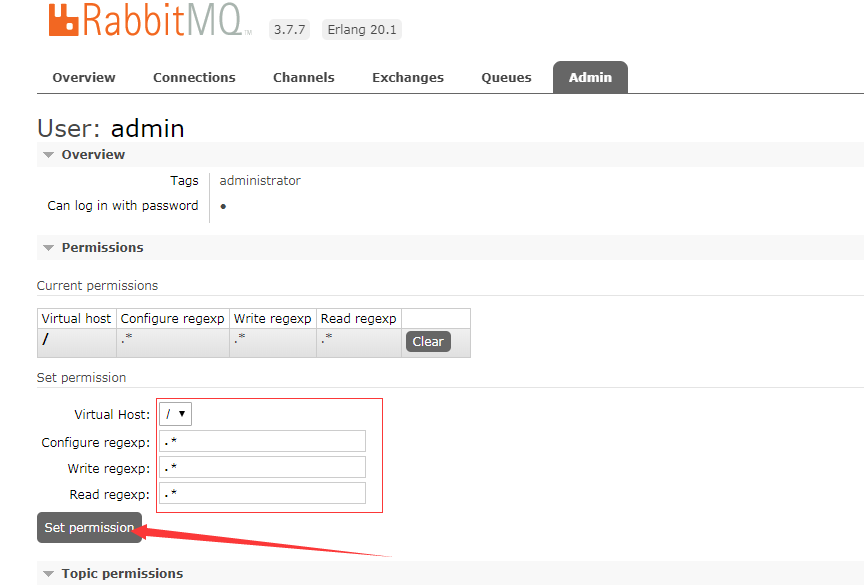
Set the permissions of the admin user
__