Vagrant installs centos/7 virtual machine
Vagrant installs centos/7 virtual machine
Vagrant Basics
Resource Baidu network disk link:
    Link: https://pan.baidu.com/s/11mS_xUp2k6YqUl-vReOnVw
    Extract code: 99an
    --Share from Baidu.com Super Member V6
After downloading, the installation file directory is as follows:
- vagrant_2.2.19_x86_64.msi
- VirtualBox-7.0.10-158379-Win.exe
- CentOS-7-x86_64-Vagrant-2004_01.VirtualBox.box
1. Install vagrant and VirtualBox and follow the next step.
1.1. Add VAGRANT_HOME environment variable
After Vagrant is installed, the Home directory will be set to C:\Users\username.vagrant.d by default, and all related files such as boxes will be placed here. Therefore, the system environment variables need to be configured as follows:
    Variable Name: VAGRANT_HOME
    Variable value: D:\WuMing\VagrantFile\VagrantRep\.vagrant.d
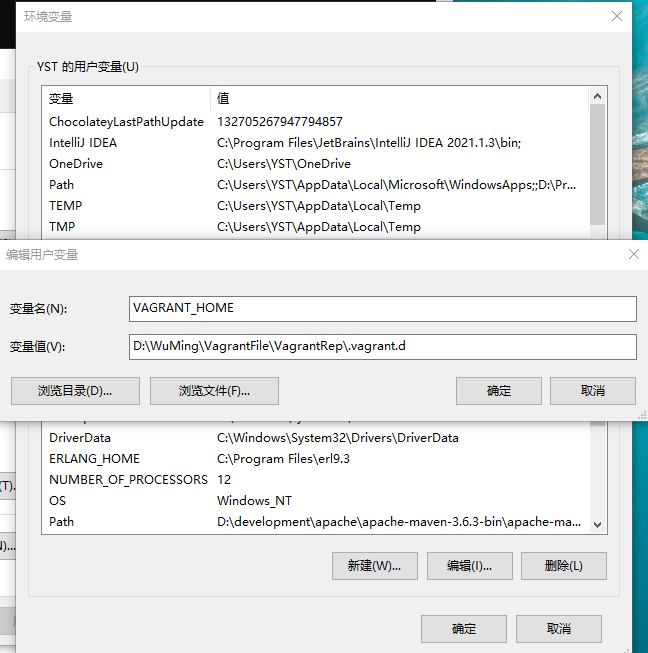
After configuration, cut the original .vagrant.d file in C:\Users\username.vagrant.d to the configured file D:\WuMing\VagrantFile\VagrantRep. Then restart the computer (when vagrant was initially installed, it prompted to restart the computer, but I did not restart it).
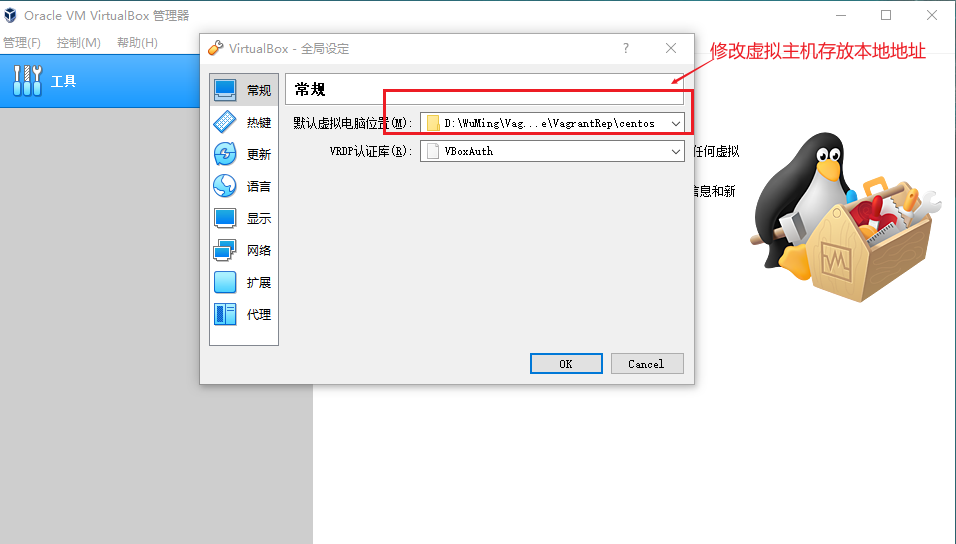
1.2. Change the virtual machine file storage path
Open the virtual box application and set the directory file where the virtual machine is created. By default, it is stored in the C:\Users\username\ directory. This will take up more space on the C drive.
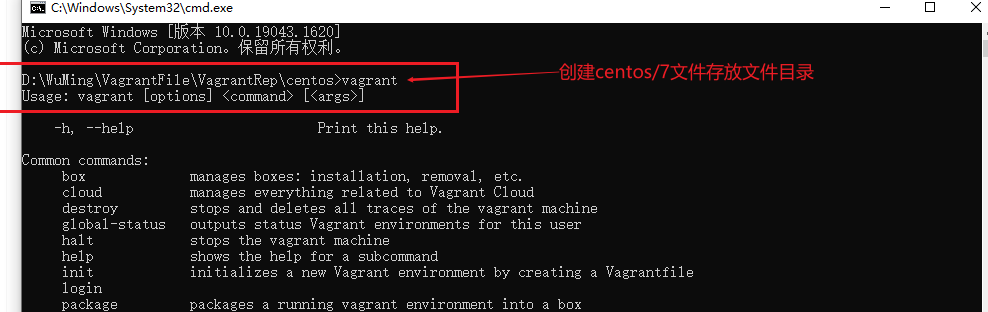
1.3. Install centos/7 virtual machine
Enter the file directory where the virtual machine is installed and execute cmd naming (the local file storage directory is set as follows: D:\WuMing\VagrantFile\VagrantRep\centos)
Method 1: Import the local image file. Fast and fast.
    #1, add the virtual machine image and initialize the image file storage file directory and generate configuration file
    vagrant box add centos/7 D:\WuMing\VagrantFile\VagrantRep\CentOS-7-x86_64-Vagrant-2004_01.VirtualBox.box

    #2. View the list of virtual machines - check whether the virtual machine is initialized successfully or not
    vagrant box list

    # Start the virtual machine - -Import the virtual machine image file
    vagrant up
Method 2: Download the image from the Internet – (Friendly reminder: The Internet speed is relatively slow.)
    #Initializing the image file directory and generating configuration files
    vagrant init centos/7

    #2, install centos/7 virtual machine
    vagrant up

    #3, query virtual machine list
    vagrant box list
After the above installation: use ssh connection
    # Connect to the virtual machine via cmd
    vagrant ssh
2. Configure centos/7 configuration information
2.1. Edit the Vagrantfile file
In the centos/7 file storage directory, there is a Vagrantfile file. In this file, the basic information of the virtual machine is configured.
    # set centos/7 fixed ip
    config.vm.network "private_network", ip: "192.168.56.10"

    # Map the VM's directory to a local directory
    config.vm.synced_folder "D:/WuMing/VagrantFile/VagrantRep/centos/wuming", "/wuming"
Directory mapping is as follows:
First create the local.txt file in the local mydata folder and enter a Chinese character.
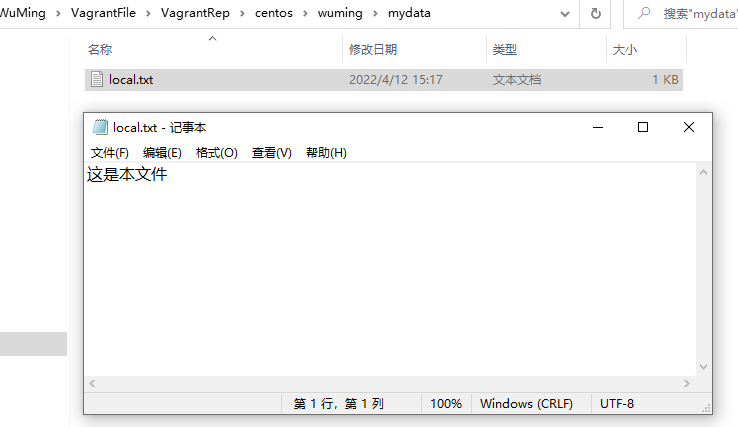
After restarting vagrant, execute (vagrant reload), and the data synchronization is successful. Currently, local files can only be mapped to the virtual machine when the virtual machine is restarted, and subsequent asynchronous synchronization files are being learned.

After vagrant has built centos, its mission is over. Next, start using the ssh tool to connect to the virtual machine.
For example, I use smarTTY as an example:
2.2. Connect to the virtual machine through smarTYY
The local centos/7 is installed in the centos file directory, so find the private_key file.
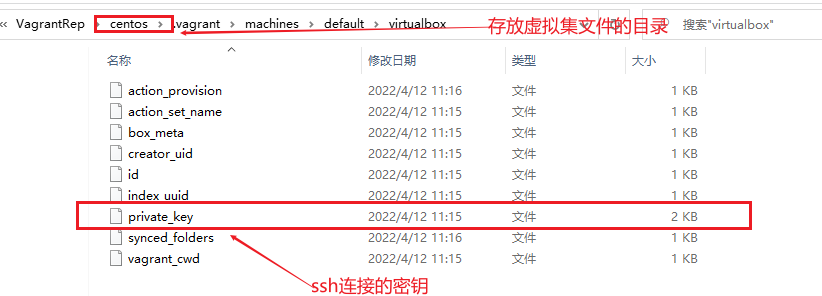
Open the ssh connection tool and select the openSSH key to connect.
D:\WuMing\VagrantFile\VagrantRep\centos.vagrant\machines\default\virtualbox\private_key
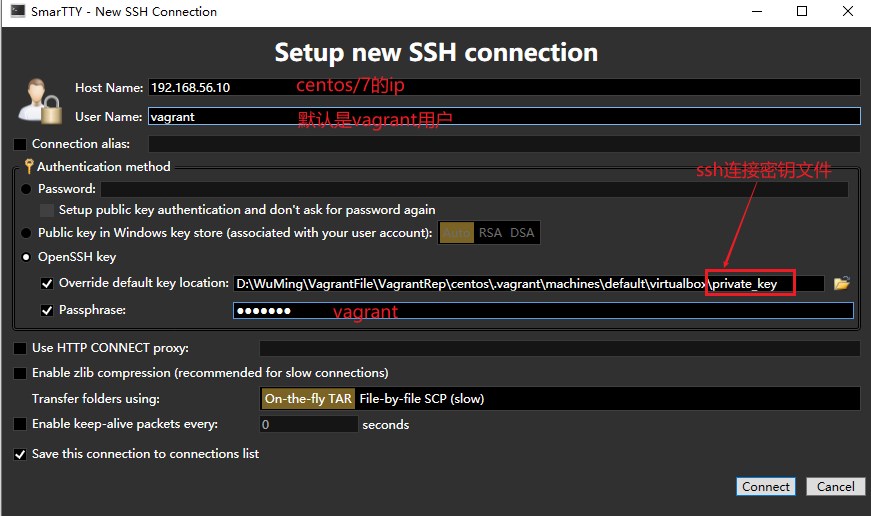
After the connection is successful, the default is vagrant user
    # Switch to root and enter the default password vagrant to operate centos/7 as root administrator.
    su root
3. Commonly used commands in vagrant
    #Viewing the local box list
    vagrant box list

    #2, add box to the list
    vagrant box add centos/7 D:/xxx/xx

    #3, remove from box list
    vagrant box remove centos/7

    #4. Start the virtual machine
    vagrant up

    #5. Shut down the virtual machine
    vagrant halt

    #6. Reboot the virtual machine
    vagrant reload

    #7. SSH to the virtual machine
    vagrant ssh

    #8. Suspend the virtual machine
    vagrant suspend

    #9. Wake up the virtual machine
    vagrant resume

    #10. Check the status of the virtual machine
    vagrant status

    #11, destroy the current virtual machine
    vagrant destroy