Vagrant Getting Started Tutorial (Used on Windows)
Vagrant Getting Started Tutorial (Used on Windows)
Table of contents
1. Introduction to vagrant
2. Install the software used
3. Download the system image.
4. Query, add and delete boxes
5. Basic operations of vagrant
1. Introduction to vagrant
It is a command line software for managing virtual machines, developed in Ruby language. In other words, you can save yourself all the operations of using a [virtual machine](/search?q=virtual machine) to create an operating system, such as creating a virtual machine, hanging on an image file, clicking on the installation step by step, etc. With vagrant, you don’t need to do these, just two lines of commands , quickly create your own personal system.
In terms of development, Vagrant is a tool used to build a virtual development environment, which is very suitable for developing web applications in languages such as php/python/ruby/java. We can encapsulate a Linux development environment through Vagrant and distribute it to team members. Members can develop programs on their favorite desktop system (Mac/Windows/Linux), but the code can be run uniformly in a packaged environment, which is very domineering.
2. Install the software used
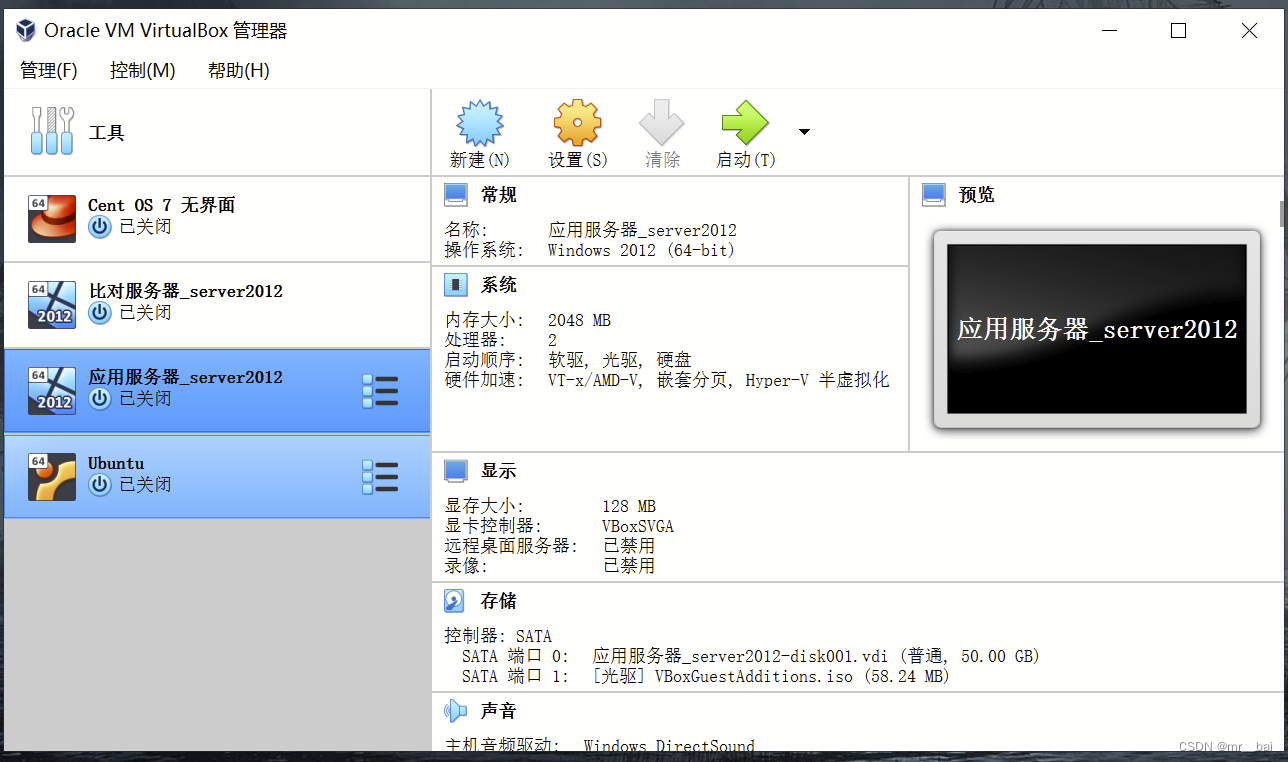
1. Install virtualBox (the installation will not be explained here)
(Although Vagrant also supports VMware, VMware is charged, and the corresponding Vagrant version is also charged)
2. Install Vagrant
(1) Enter the official website https://www.vagrantup.com/downloads and select the version to download.
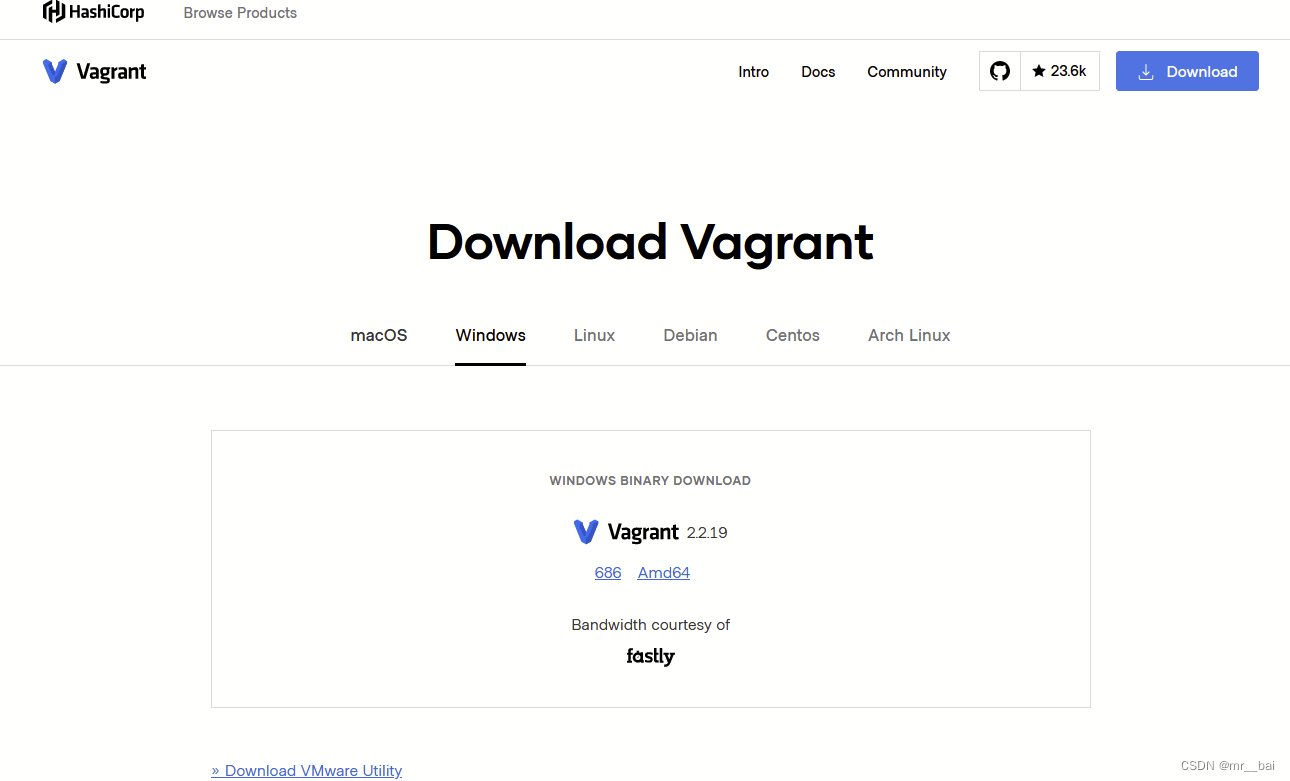
(2) Fool-style installation

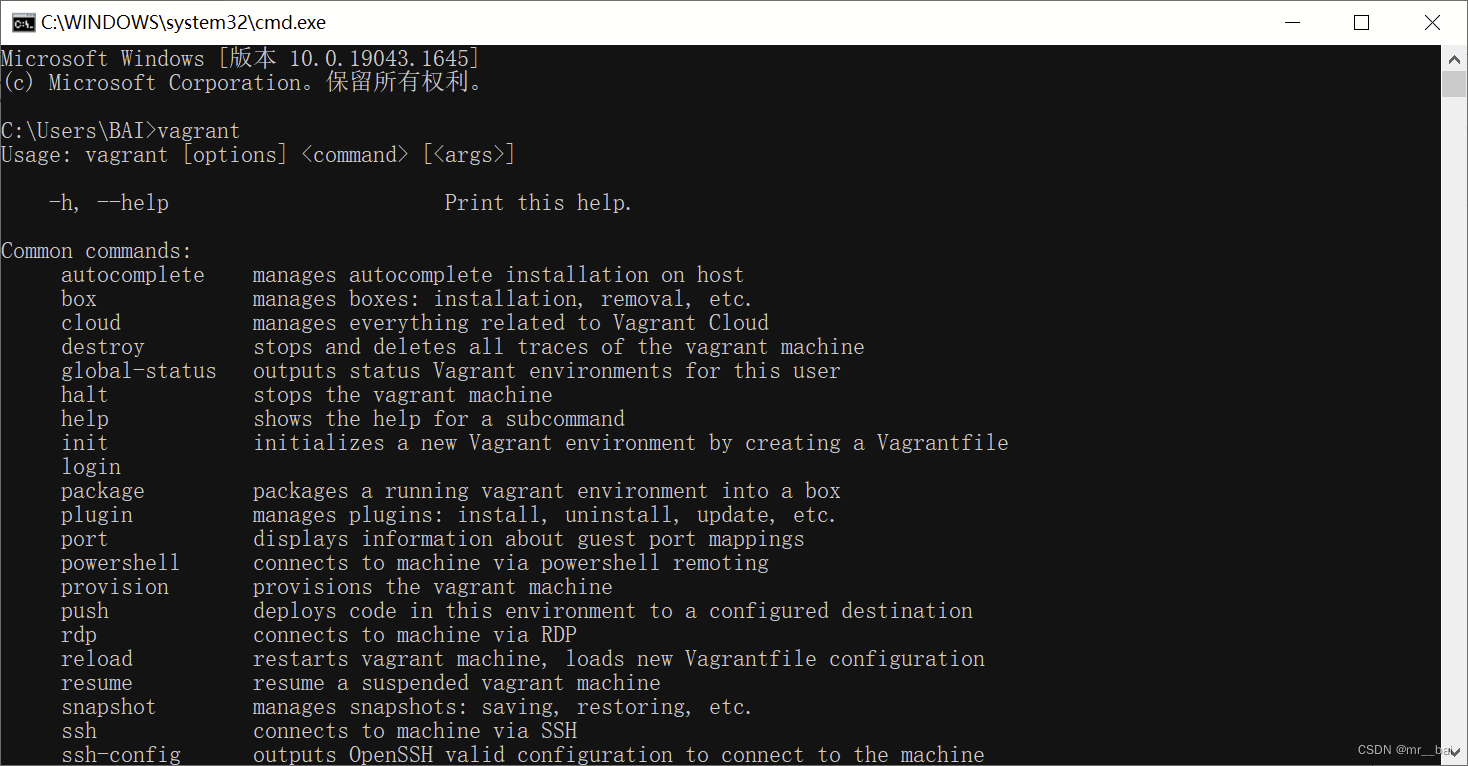
(3) Check whether the installation is successful
Enter vagrant on the command line, as shown in the figure below, indicating that the installation is successful.
3. Download the system image.
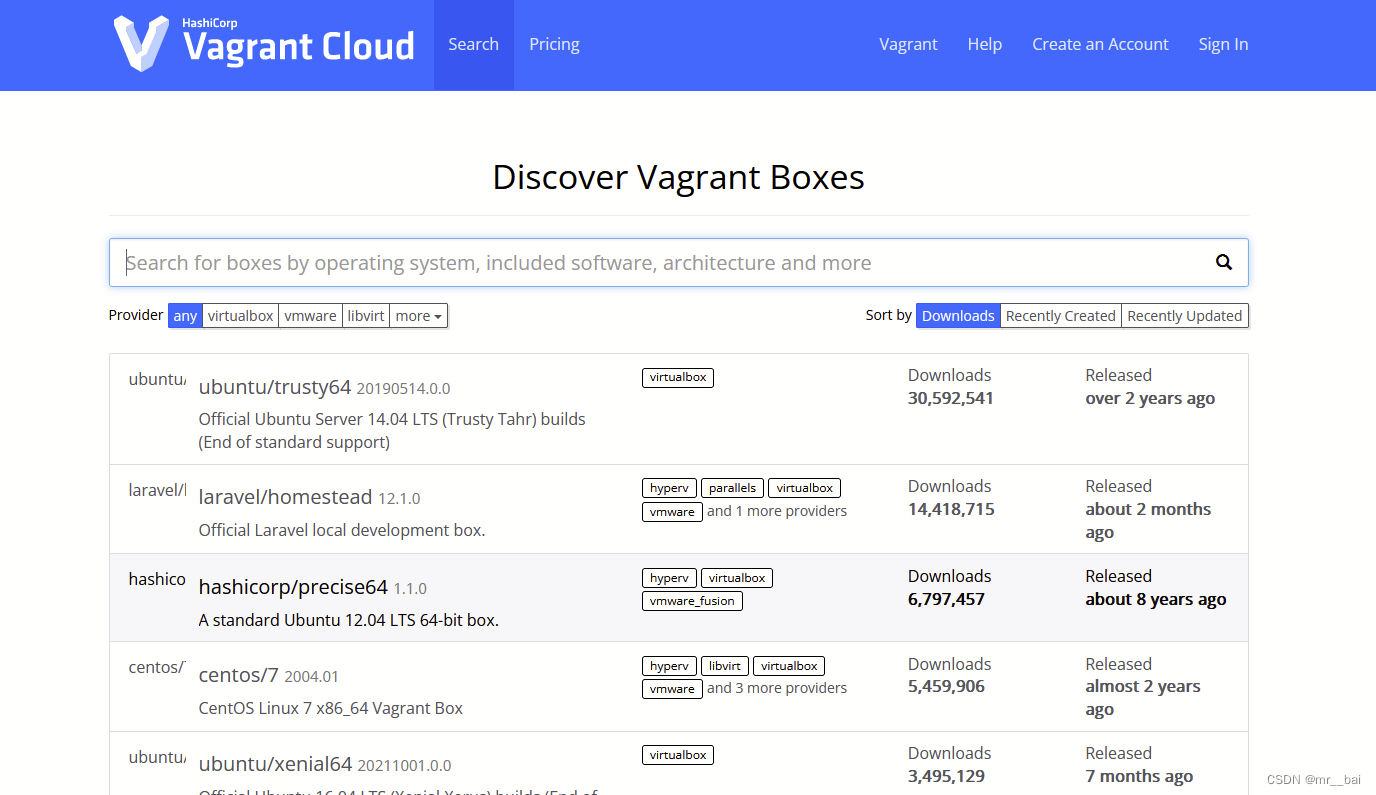
On the Vagrant official website, there is a findbox button. This is Vagrant's mirror library. It lists which mirrors can be used and provides operating documents.
You can also enter through the following link: https://app.vagrantup.com/boxes/search
However, the default download here is often slow, so below I will introduce how to download the base image elsewhere and then reset it according to your own needs. If the Internet speed is good, friends who download smoothly can selectively skip some content.
Below I give the download addresses of the two most commonly used Linux operating system images:
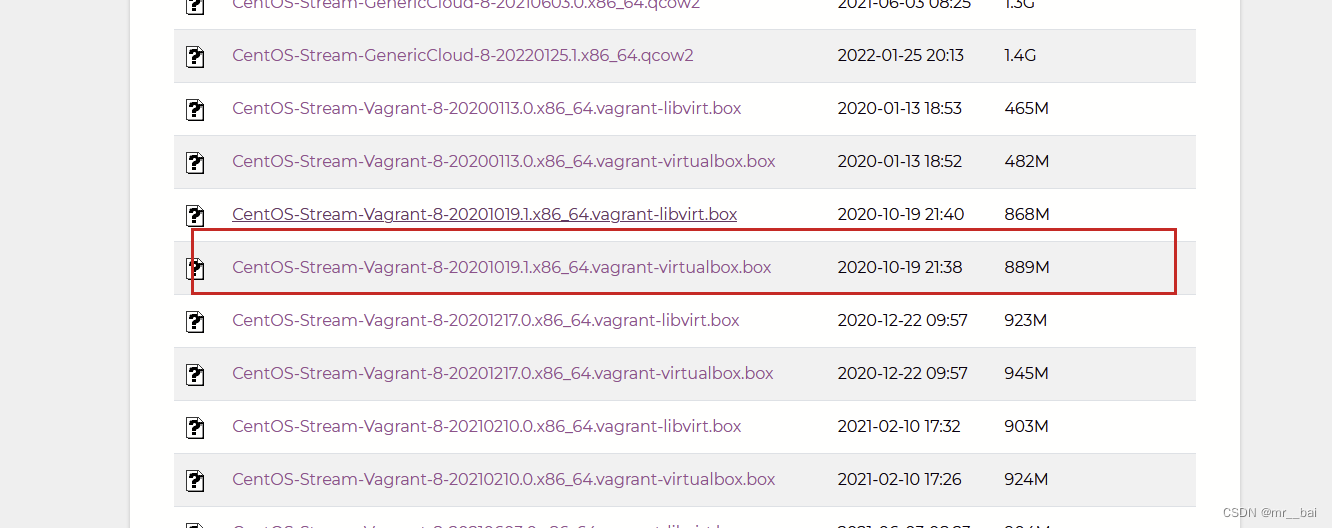
CentOS
The CentOS mirror download website is: [ http://cloud.centos.org/centos/](https://link.zhihu.com/?target=http%3A//cloud.centos.org/centos/ "http://cloud.centos.org/centos/")
Select the version you want to download. There is a directory in the list vagrant that contains images specially built for vagrant. Just select .box the file with the suffix to download. You can use the download tool here to download it at a faster speed.
Ubuntu
The Ubuntu image download website is: http://cloud-images.ubuntu.com/
Also select the desired version first, and then select .box the file for vagrant.
If the speed of the official website here is slow, you can also download it from the mirror site of Tsinghua University .
For example:
4. Query, add and delete boxes
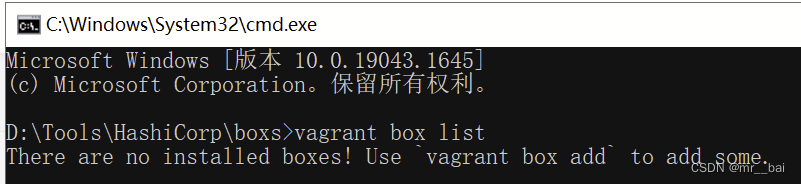
Next we need to add the downloaded .box file to vagrant. Vagrant has no GUI and can only be accessed from the command line.
(1) Query which boxes have been managed by vagrant:
vagrant box list
(2) Add box command
vagrant box add box的文件路径及文件名 --name centos8
vagrant box add adds box to vagrant,
The command is followed by the box file path.
--name centos8You can assign a name to this box
After installation, as shown below, you can use the query command to query and you will see the installed box.

(3) Delete box command
vagrant box remove NAME #根据名字删除指定的box

5. Basic operations of vagrant
(1)Create a new virtual machine
When we create a virtual machine , we will produce some files, so it is best to create a separate folder for each virtual machine. Then go into the folder. Initialize under folder path
vagrant init [boxname] #加上boxname 表示使用哪个box 创建虚拟机
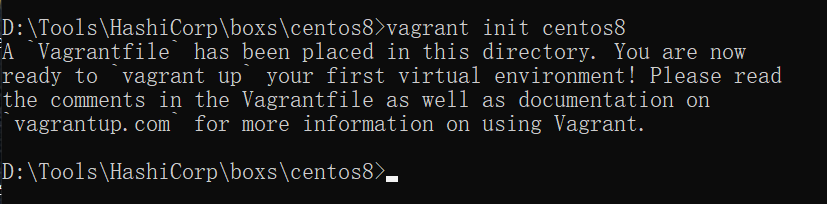
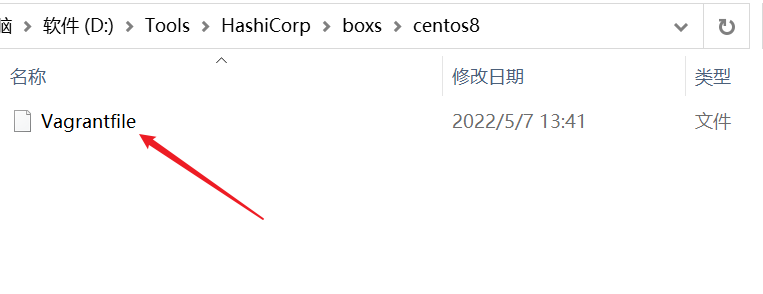
After initialization, a configuration file will be generated in the folder
(2)Start the virtual machine
All vagrant commands need to Vagrantfile be executed in the directory where they are located:
vagrant up
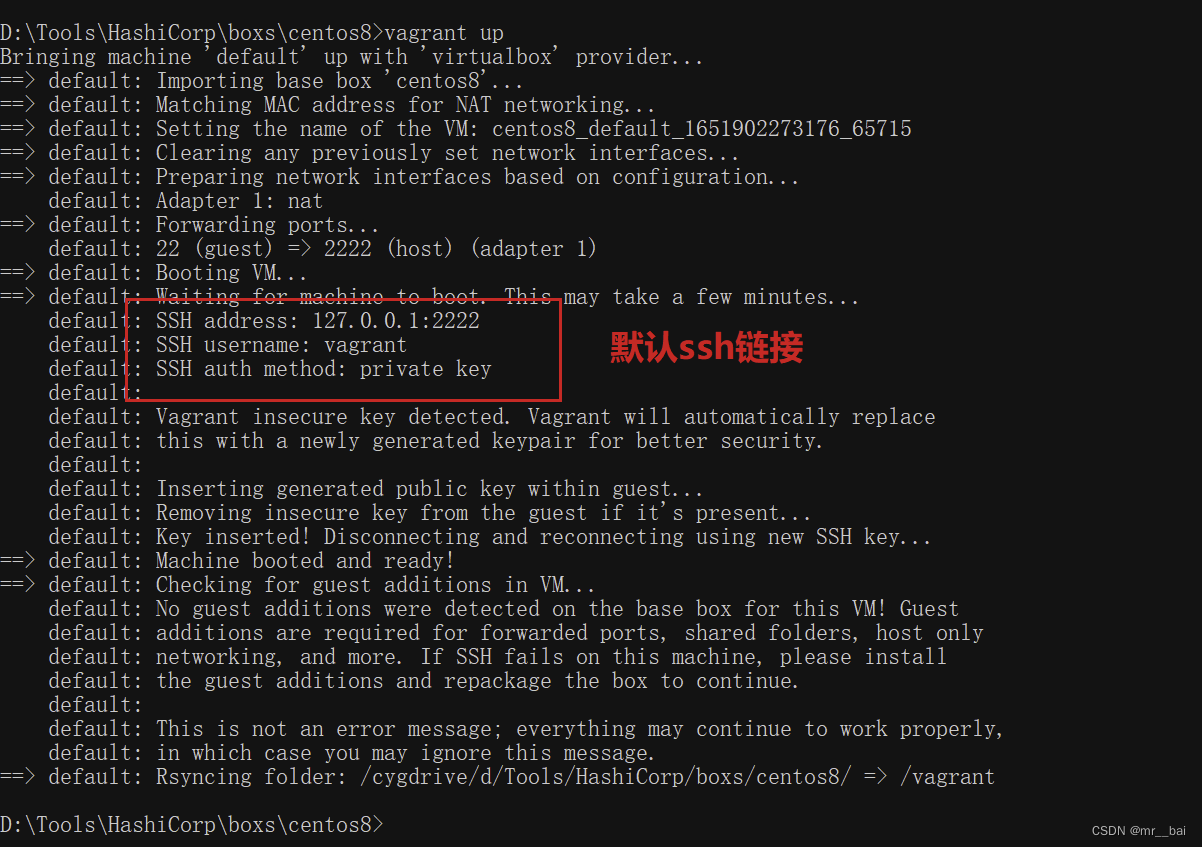
If no error is reported, the startup is successful. (Pay attention to the name of the box. If you write it wrong, an error will be reported)
(3)Check virtual machine status
vagrant status
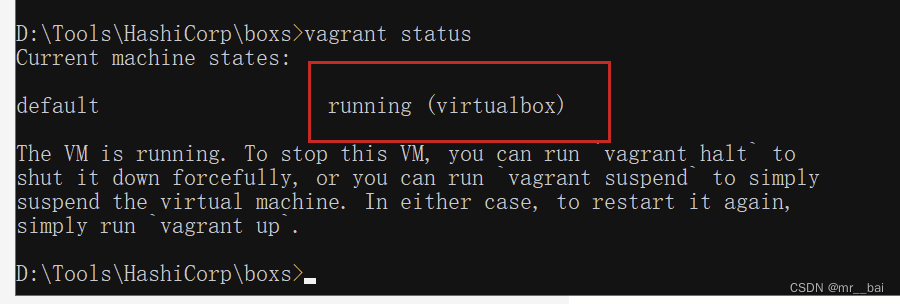
If it is running, it means that our virtual machine has started successfully.
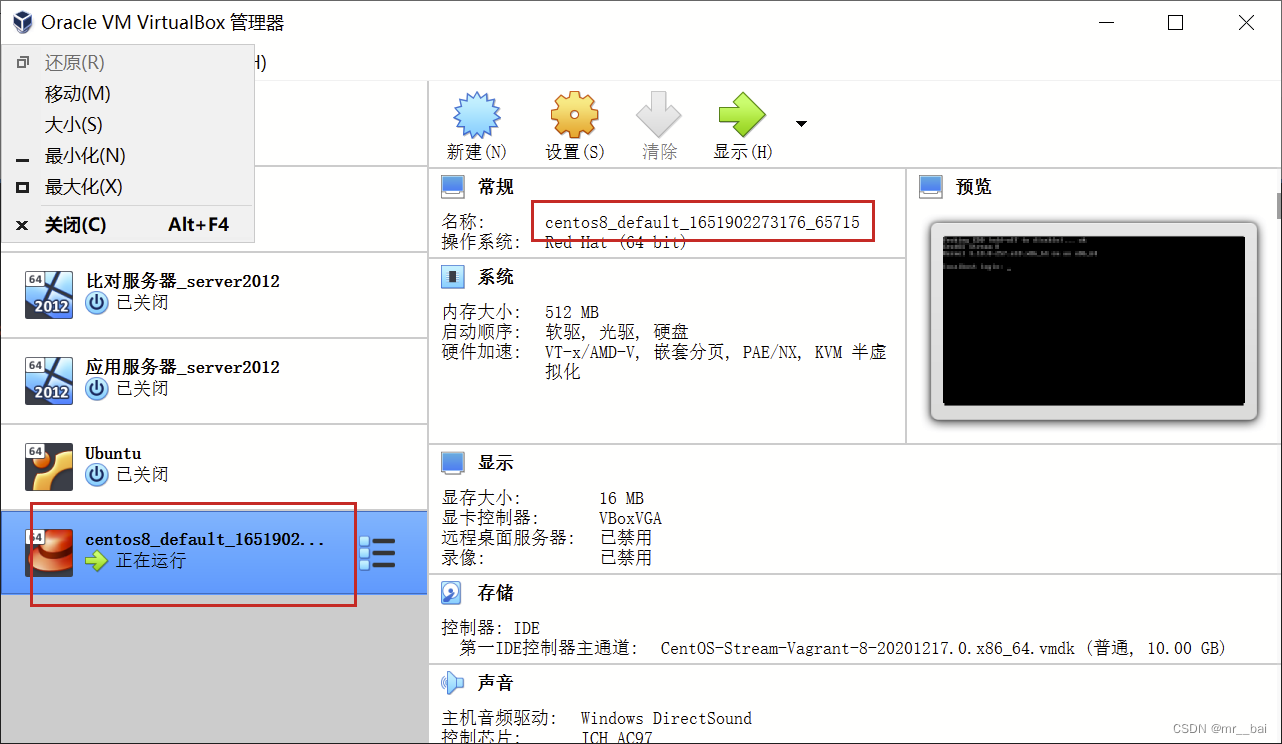
(4) Link to virtual machine
If there is no problem with startup, a virtual machine will be automatically generated in the vbox list. This virtual machine is named after the folder name. You can see the automatically created virtual machine:
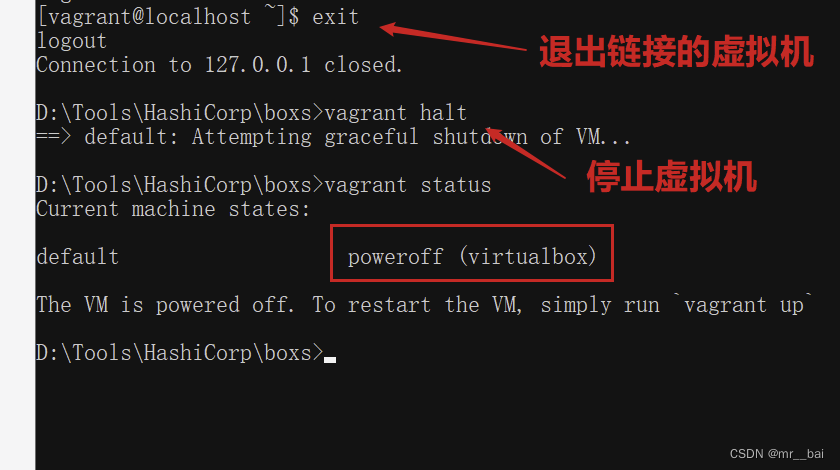
Executing vagrant ssh it will allow vagrant you to log in directly to the virtual machine as a user.
root Users have no default password and cannot log in directly. Commands that require root permissions can be executed by adding them before the command sudo , or you can execute them sudo -i by switching to the user directly root .
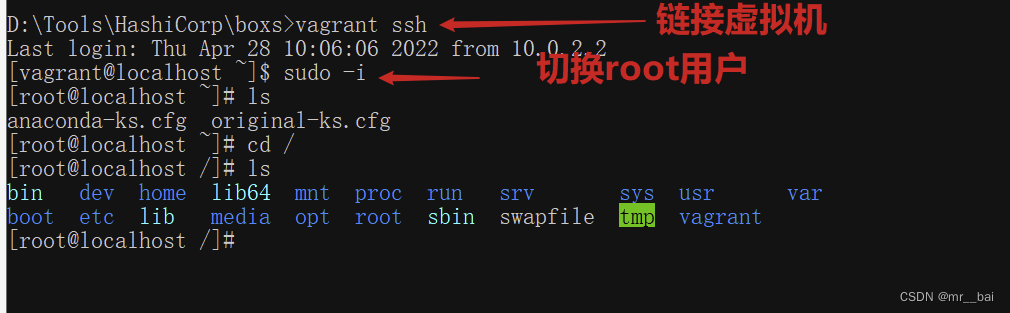
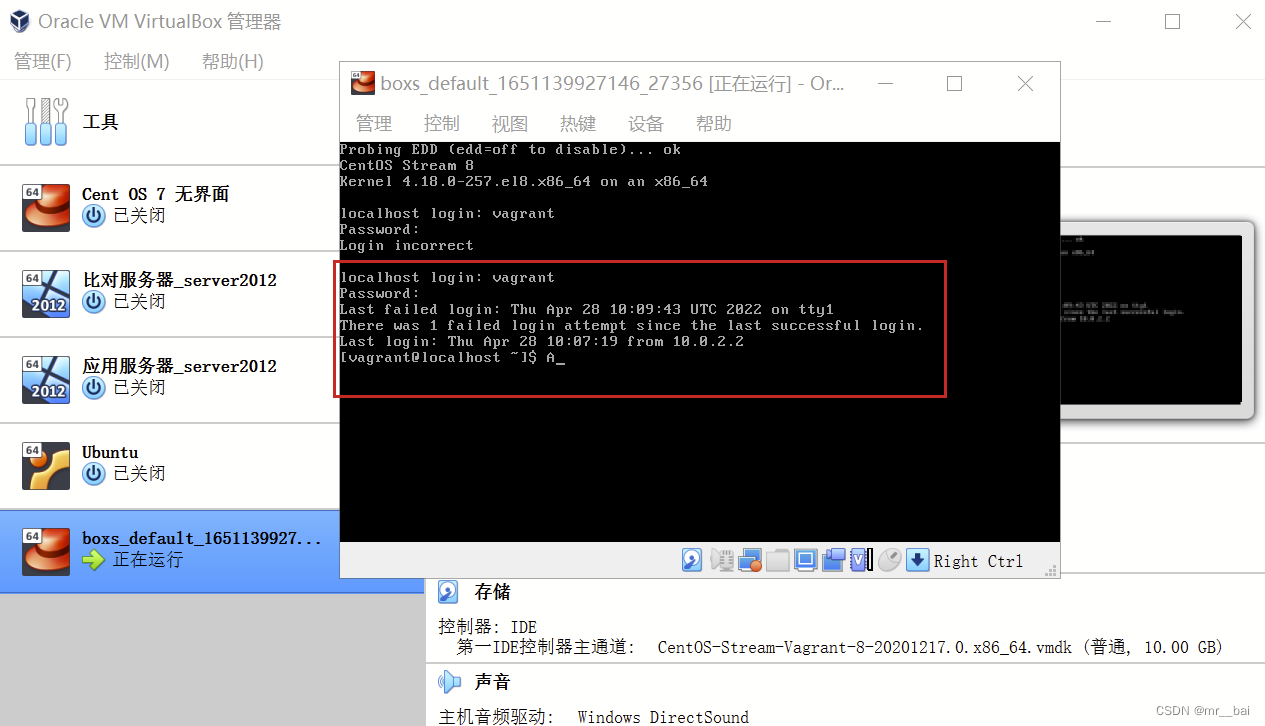
You can also log in to the system on the VirtualBox terminal. The default login username and password are vagrant
(5) Stop the virtual machine
vagrant halt
(6) Pause the virtual machine
vagrant suspend
(7)Restore virtual machine
vagrant resume
Note: Regardless of whether the virtual machine is shut down, suspended, or even in an error state, you can execute this command vagrant up to resume the virtual machine.
(8) Delete virtual machine
vagrant destroy
6. Vagrantfilefile source file
      2. # vi: set ft=ruby :

      3.

      4. # All Vagrant configuration is done below. The "2" in Vagrant.configure

      5. # configures the configuration version (we support older styles for

      6. # backwards compatibility). Please don't change it unless you know what

      7. # you're doing.

      8. Vagrant.configure("2") do |config|

      9.   # The most common configuration options are documented and commented below.

      10.   # For a complete reference, please see the online documentation at

      11.   # https://docs.vagrantup.com.

      12.

      13.   # Every Vagrant development environment requires a box. You can search for

      14.   # boxes at https://vagrantcloud.com/search.

      15.   config.vm.box = "centos8"

      16.

      17.   # Disable automatic box update checking. If you disable this, then

      18.   # boxes will only be checked for updates when the user runs

      19.   # `vagrant box outdated`. This is not recommended.

      20.   # config.vm.box_check_update = false

      21.

      22.   # Create a forwarded port mapping which allows access to a specific port

      23.   # within the machine from a port on the host machine. In the example below,

      24.   # accessing "localhost:8080" will access port 80 on the guest machine.

      25.   # NOTE: This will enable public access to the opened port

      26.   # config.vm.network "forwarded_port", guest: 80, host: 8080

      27.

      28.   # Create a forwarded port mapping which allows access to a specific port

      29.   # within the machine from a port on the host machine and only allow access

      30.   # via 127.0.0.1 to disable public access

      31.   # config.vm.network "forwarded_port", guest: 80, host: 8080, host_ip: "127.0.0.1"

      32.

      33.   # Create a private network, which allows host-only access to the machine

      34.   # using a specific IP.

      35.   # config.vm.network "private_network", ip: "192.168.33.10"

      36.

      37.   # Create a public network, which generally matched to bridged network.

      38.   # Bridged networks make the machine appear as another physical device on

      39.   # your network.

      40.   # config.vm.network "public_network"

      41.

      42.   # Share an additional folder to the guest VM. The first argument is

      43.   # the path on the host to the actual folder. The second argument is

      44.   # the path on the guest to mount the folder. And the optional third

      45.   # argument is a set of non-required options.

      46.   # config.vm.synced_folder "../data", "/vagrant_data"

      47.

      48.   # Provider-specific configuration so you can fine-tune various

      49.   # backing providers for Vagrant. These expose provider-specific options.

      50.   # Example for VirtualBox:

      51.   #

      52.   # config.vm.provider "virtualbox" do |vb|

      53.   #   # Display the VirtualBox GUI when booting the machine

      54.   #   vb.gui = true

      55.   #

      56.   #   # Customize the amount of memory on the VM:

      57.   #   vb.memory = "1024"

      58.   # end

      59.   #

      60.   # View the documentation for the provider you are using for more

      61.   # information on available options.

      62.

      63.   # Enable provisioning with a shell script. Additional provisioners such as

      64.   # Ansible, Chef, Docker, Puppet and Salt are also available. Please see the

      65.   # documentation for more information about their specific syntax and use.

      66.   # config.vm.provision "shell", inline: <<-SHELL

      67.   #   apt-get update

      68.   #   apt-get install -y apache2

      69.   # SHELL

      70. end
This is a Ruby syntax file because Vagrant is written in Ruby. If the editor does not have syntax highlighting, you can manually set the file type to Ruby.
The contents of this default file are almost all comments, indicating which configuration items can be modified. We do not need to learn Ruby programming to complete the basic configuration by following the instructions.
In addition to comments, the actual effective content of this file is only 3 lines.
      2.   config.vm.box = "centos8"

      3. end
The corresponding here config.vm.box is the image of the virtual machine, which is the box file. This is the only required configuration item.
Special reminder : Vagrantfile The file name is written in a fixed way, and the upper and lower case must be exactly the same. If you modify it, you will no longer recognize it.
7. Custom configuration Vagrantfile
1. Configure port forwarding
Port forward, also called port mapping, is to map a port of the virtual machine to a port of the host machine. In this way, the services in the virtual machine can be accessed on the host machine.
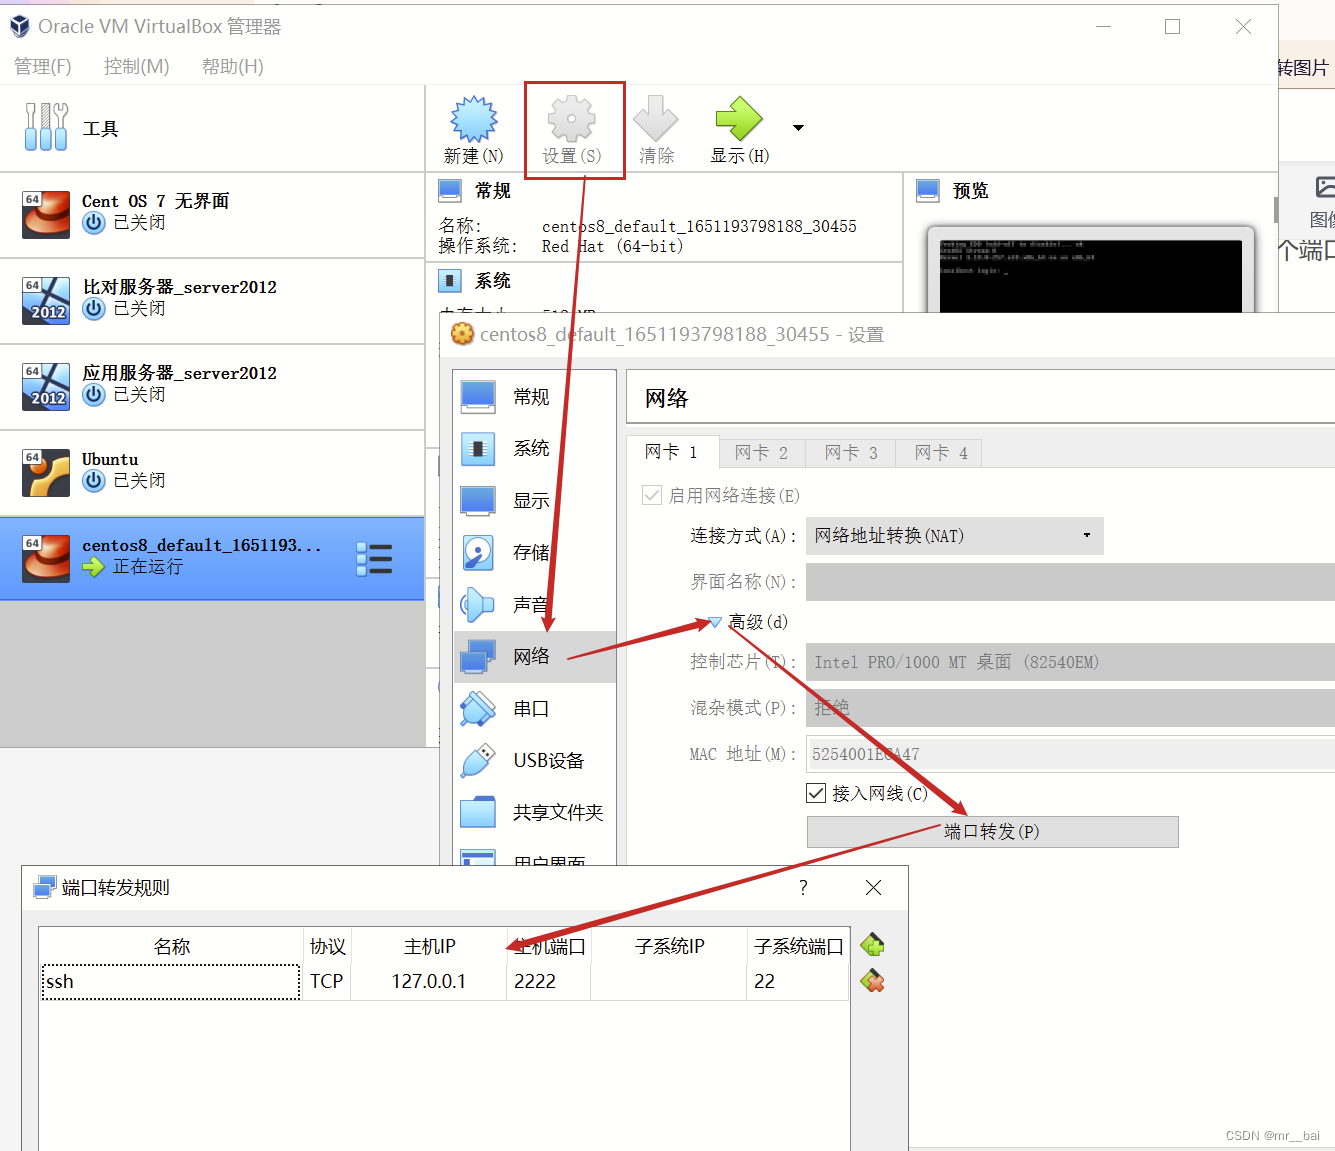
For example, when starting a virtual machine, the default 22 (guest) => 2222 (host) (adapter 1) is to map the SSH service port ( ) of the virtual machine 22to the port of the host 2222 . In this way, directly asking for the port through the SSH client on the host 127.0.0.1:2222 is equivalent to accessing 22 the port of the virtual machine.
      2. # within the machine from a port on the host machine. In the example below,

      3. # accessing "localhost:8080" will access port 80 on the guest machine.

      4. # NOTE: This will enable public access to the opened port

      5. # config.vm.network "forwarded_port", guest: 80, host: 8080

      6.

      7. # Create a forwarded port mapping which allows access to a specific port

      8. # within the machine from a port on the host machine and only allow access

      9. # via 127.0.0.1 to disable public access

      10. # config.vm.network "forwarded_port", guest: 80, host: 8080, host_ip: "127.0.0.1"
In fact, setting up the port forwarding function is not practical. An obvious problem is that if multiple virtual machines are started, port conflicts on the host machine may easily occur. Even if there is no port conflict, it is inconvenient to use. I personally do not recommend it. You can delete this part of the configuration directly. Use the private network directly below.
This function is provided by the virtual machine software. You can expand the advanced options in the virtual machine's network card settings and find the relevant configuration:
还有个地方需要注意 ,默认的 SSH 端口映射在这里没法直接修改。比如像我这样,2222 端口出现莫名问题,如果想要把 22 端口转发到其它端口如 22222,必须要先强制关闭掉默认的那条规则:
(因为不关闭的话,只写第二行,会在原来的基础上新加一个端口转发规则,而不是替代原来的)
2. config.vm.network "forwarded_port", guest: 22, host: 22222
2、配置私有网络
下面这段配置用来配置私有网络,实际上对应的是 VirtualBox 的主机网络,也就是 HostOnly 网络
      2. # using a specific IP.

      3. # config.vm.network "private_network", ip: "192.168.33.10"
最下面一行取消注释,就可以为虚机设置指定的私有网络地址:
config.vm.network "private_network", ip: "192.168.6.25"
修改完成后,执行 vagrant reload 命令重建虚机,就能看到多出来的网卡了