SpringBoot integrates RabbitMQ
SpringBoot integrates RabbitMQ
🙈About the author: Java up master who has been practicing for two and a half years🙉Personal
homepage: Programmer Laocha🙊
ps: Like👍 is free, but it can make the blog author happy for a long time😎
📚Series of columns: Java full stack, Computer series (updating rapidly)
💭 Motto: The best time to plant a tree was ten years ago, the second best time is now
🏡Move your little hands, click follow to avoid getting lost, thank you for the three-click connection
Table of contents
- Course name: Java
-
- Content/function: knowledge points/design/experiments/assignments/exercises
- Learning: SpringBoot integrates RabbitMQ
-
-
- SpringBoot integrates RabbitMQ
-
-
- Install
- Integration (direct model)
- Integration (topic model)
Course name: Java
Content/function: knowledge points/design/experiments/assignments/exercises
Learning: SpringBoot integrates RabbitMQ
SpringBoot integrates RabbitMQ
RabbitMQ is one of the more popular products among MQ products. It complies with the AMQP protocol. The underlying implementation language of RabbitMQ uses Erlang, so you need to install Erlang first to install RabbitMQ.
Erlang installation
Windows version installation package download address: https 😕/www.erlang.org/downloads
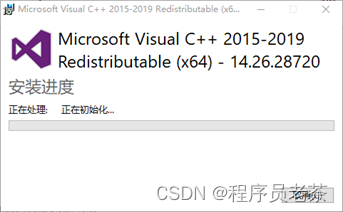
After downloading, you will get the exe installation file, which can be installed with one click. After the installation is complete, you need to restart, you need to restart, you need to restart.
During the installation process, there may be a prompt that depends on Windows components. Just download and install according to the prompts. They are all executed automatically, as follows:
After Erlang is installed, you need to configure environment variables, otherwise RabbitMQ will not be able to find the installed Erlang. The required configuration items are as follows, their functions are equivalent to those of JDK configuration environment variables.
- ERLANG_HOME
- PATH
Install
Windows version installation package download address : (https://rabbitmq.com/install-windows.html)[https://rabbitmq.com/install-windows.html]
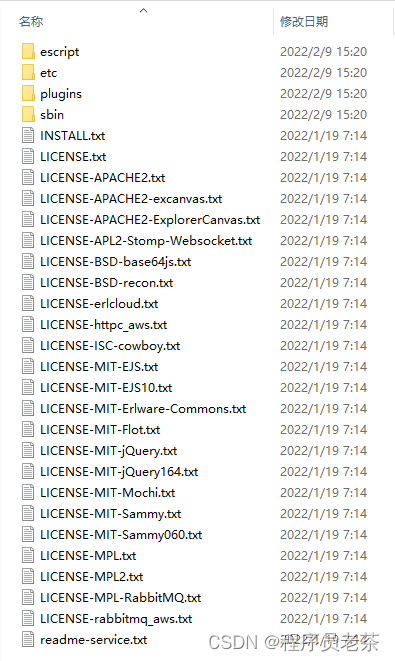
After downloading, you will get the exe installation file. You can install it with one click. After the installation is complete, you will get the following file.
Start the server
    rabbitmq-service.bat start		# Starting services
    rabbitmq-service.bat stop		# Discontinuation of services
    rabbitmqctl status				# Check Service Status
Just run the rabbitmq-service.bat command in the sbin directory. The start parameter indicates startup, the stop parameter indicates exit. The default external service port is 5672.
Note: The process of starting rabbitmq is actually to start the system service corresponding to rabbitmq, which requires administrator rights to execute.
Note: Do you feel that the service port 5672 is familiar? There is a port conflict between activemq and rabbitmq. Which one should be used during the learning phase? Make sure the other one is turned off.
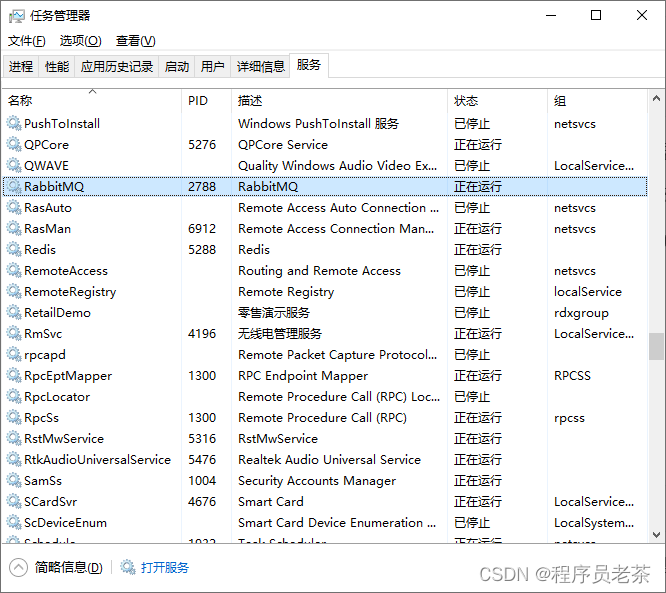
Note: Friends who don’t like the command line can use the service page in the task manager to find the RabbitMQ service, and use the right-click menu to control the start and stop of the service.
Access web management services
RabbitMQ also provides a web console service, but this function is a plug-in and needs to be enabled before it can be used.
    rabbitmq-plugins.bat list							# View the current running status of all plug-ins
    rabbitmq-plugins.bat enable rabbitmq_management		# Starting the rabbitmq_management plugin
After starting the plug-in, you can check whether it is running in the plug-in running status. After running, you can open the service background management interface through the browser.
http://localhost:15672
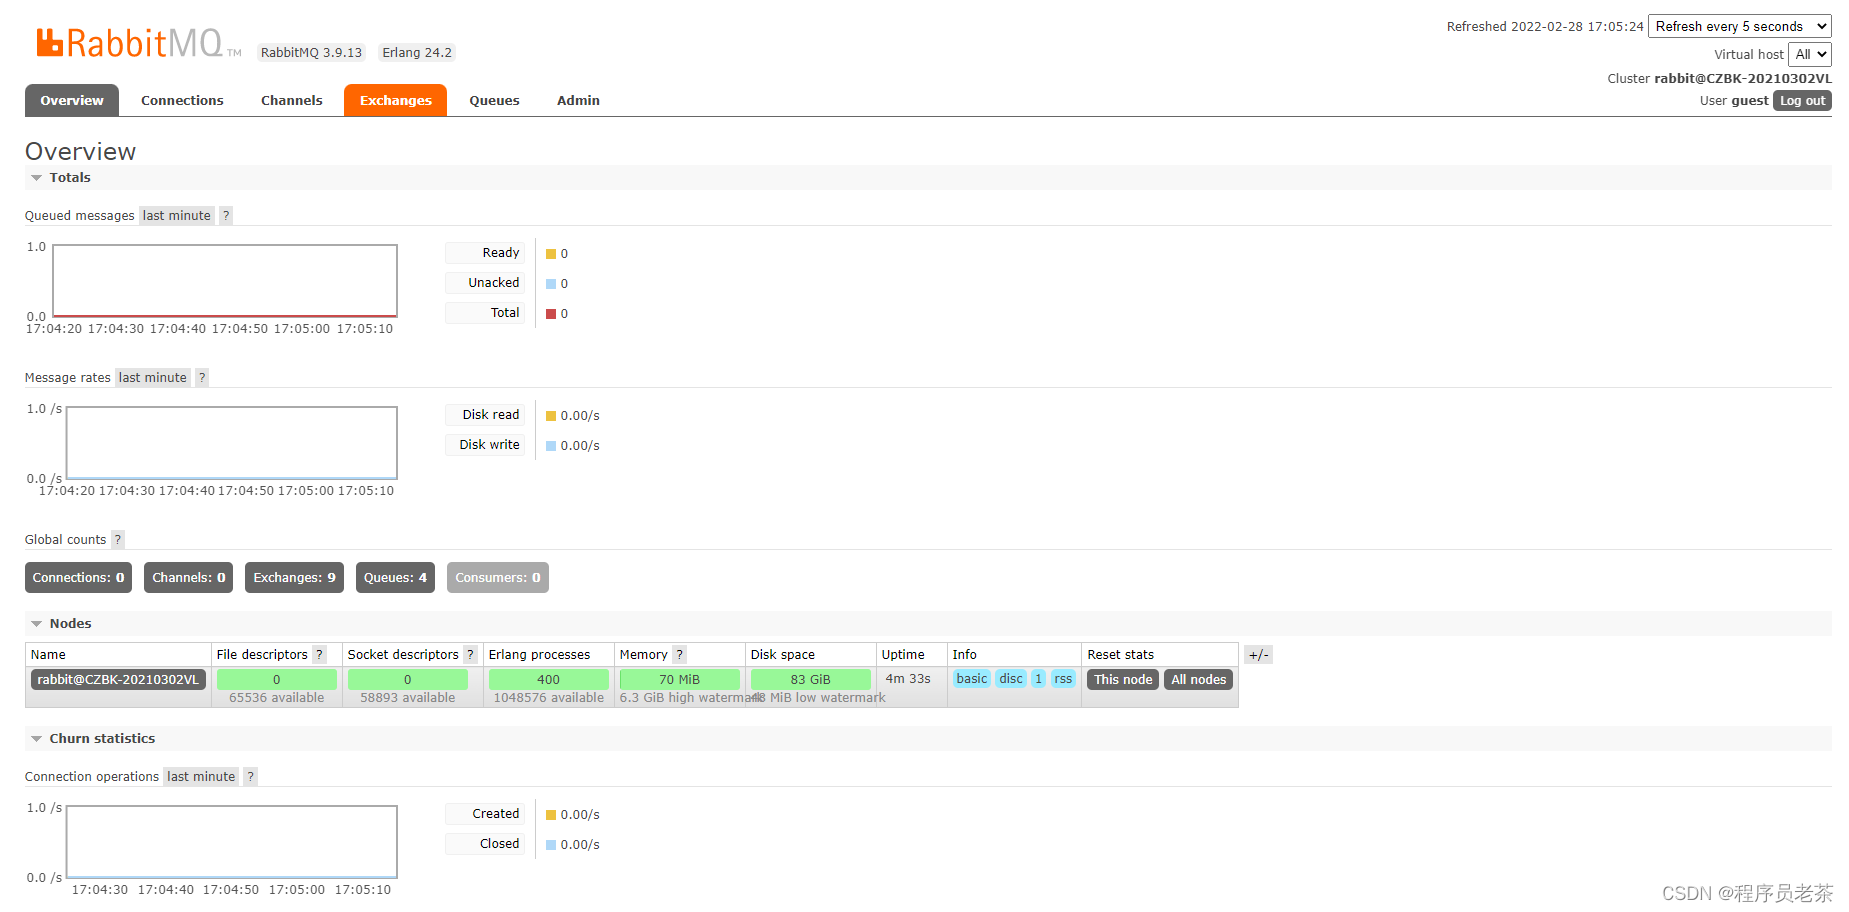
The default port of the web management service is 15672. After accessing it, you can open the RabbitMQ management interface, as follows:
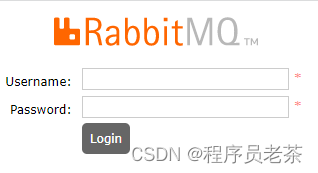
First enter the access username and password. The initialization username and password are the same, both are: guest. After successful login, enter the management background interface, as follows:
Integration (direct model)
RabbitMQ meets the AMQP protocol, so different message models require different production. First, use the simplest direct model for development.
Step ① : Import the starter of springboot to integrate amqp. The default implementation of amqp protocol is rabbitmq solution.
    <dependency>
        <groupId>org.springframework.boot</groupId>
        <artifactId>spring-boot-starter-amqp</artifactId>
    </dependency>
Step 2 : Configure the server address of RabbitMQ
    spring:
      rabbitmq:
        host: localhost
        port: 5672
Step ③ : Initialize direct connection mode system settings
Since different RabbitMQ models use different switches, you need to initialize RabbitMQ-related objects, such as queues, switches, etc.
    @Configuration
    public class RabbitConfigDirect {
        @Bean
        public Queue directQueue(){
            return new Queue("direct_queue");
        }
        @Bean
        public Queue directQueue2(){
            return new Queue("direct_queue2");
        }
        @Bean
        public DirectExchange directExchange(){
            return new DirectExchange("directExchange");
        }
        @Bean
        public Binding bindingDirect(){
            return BindingBuilder.bind(directQueue()).to(directExchange()).with("direct");
        }
        @Bean
        public Binding bindingDirect2(){
            return BindingBuilder.bind(directQueue2()).to(directExchange()).with("direct2");
        }
    }
After the queue Queue and DirectExchange are created, the relationship between them needs to be bound, so that the corresponding queue can be operated through the switch.
Step ④ : Use AmqpTemplate to operate RabbitMQ
    @Service
    public class MessageServiceRabbitmqDirectImpl implements MessageService {
        @Autowired
        private AmqpTemplate amqpTemplate;

        @Override
        public void sendMessage(String id) {
            System.out.println("Orders for pending SMS are included in the processing queue (rabbitmq direct),id:"+id);
            amqpTemplate.convertAndSend("directExchange","direct",id);
        }
    }
The name of the operation API interface in the amqp protocol looks very similar to the operation API interface of the jms specification, but the parameters passed are very different.
Step 5 : Use the message listener to listen to the specified location after the server is started. When the message appears, consume the message immediately.
    @Component
    public class MessageListener {
        @RabbitListener(queues = "direct_queue")
        public void receive(String id){
            System.out.println("Completed SMS delivery service (rabbitmq direct),id:"+id);
        }
    }
Use the annotation @RabbitListener to define the current method to listen to the message queue with the specified name in RabbitMQ.
Integration (topic model)
Step ① : Same as above
Step ② : Same as above
Step ③ : Initialize theme mode system settings
    @Configuration
    public class RabbitConfigTopic {
        @Bean
        public Queue topicQueue(){
            return new Queue("topic_queue");
        }
        @Bean
        public Queue topicQueue2(){
            return new Queue("topic_queue2");
        }
        @Bean
        public TopicExchange topicExchange(){
            return new TopicExchange("topicExchange");
        }
        @Bean
        public Binding bindingTopic(){
            return BindingBuilder.bind(topicQueue()).to(topicExchange()).with("topic.*.id");
        }
        @Bean
        public Binding bindingTopic2(){
            return BindingBuilder.bind(topicQueue2()).to(topicExchange()).with("topic.orders.*");
        }
    }
Topic mode supports routingKey matching mode, * means matching a word, # means matching any content, so that messages can be distributed to different queues through the topic switch. For details, please refer to the RabbitMQ series of courses.
| match key | topic.. | topic.# |
|---|---|---|
| topic.order.id | true | true |
| order.topic.id | false | false |
| topic.sm.order.id | false | true |
| topic.sm.id | false | true |
| topic.id.order | true | true |
| topic.id | false | true |
| topic.order | false | true |
Step ④ : Use AmqpTemplate to operate RabbitMQ
    @Service
    public class MessageServiceRabbitmqTopicImpl implements MessageService {
        @Autowired
        private AmqpTemplate amqpTemplate;

        @Override
        public void sendMessage(String id) {
            System.out.println("Orders for pending SMS are included in the processing queue (rabbitmq topic),id:"+id);
            amqpTemplate.convertAndSend("topicExchange","topic.orders.id",id);
        }
    }
After sending the message, the currently provided routingKey is matched with the routingKey set when binding the switch. Only when the rules match successfully, the message will enter the corresponding queue.
Step 5 : Use a message listener to listen to the specified queue after the server is started.
    @Component
    public class MessageListener {
        @RabbitListener(queues = "topic_queue")
        public void receive(String id){
            System.out.println("Completed SMS delivery service (rabbitmq topic 1),id:"+id);
        }
        @RabbitListener(queues = "topic_queue2")
        public void receive2(String id){
            System.out.println("Completed SMS delivery service (rabbitmq topic 22222222),id:"+id);
        }
    }
Use the annotation @RabbitListener to define the current method to listen to the message queue with the specified name in RabbitMQ.
Summarize
- Springboot integrates RabbitMQ to provide the AmqpTemplate object as a client operation message queue
- To operate ActiveMQ, you need to configure the ActiveMQ server address. The default port is 5672.
- During enterprise development, listeners are usually used to process messages in the message queue. To set the listener, use the annotation @RabbitListener.
- RabbitMQ has 5 message models, using the same queues but different switches. Different switches have different corresponding message entry strategies.
Past columns
Java full stack development
Data Structures and Algorithms
Computer composition principles
operating system
Database systems
Internet of Things Control Principles and Technologies