Getting Started with Web Automation Testing 02 - Selenium Installation Tutorial
Getting Started with Web Automation Testing 02 - Selenium Installation Tutorial

😏About the author: The blogger is a test manager and a part-time lecturer for foreign companies.
📡Homepage address:[Austin_zhai]
🙆Purpose and vision: Aimed to help more testing industry personnel improve their soft and hard skills and share the latest industry-related information.
💎Statement : The blogger is quite busy with his daily work, and the articles will be updated from time to time. You are welcome to send private messages about various industry or workplace issues, and I will reply when you have time.

Reading table of contents
- 1. Purpose
- 2. Description
- 3. Software installation
-
- 3.1 Selenium based on Python
-
- 3.1.1 pip method
- 3.1.2 IDE method
- 3.2 Selenium based on Java
-
- 3.2.1 Maven configuration method
- 3.2.2 Project configuration method
- 4. WebDriver download and configuration
- 5. Tips
1. Purpose
As an unavoidable "hot potato" in the field of software automation testing, web automated testing is usually the first choice for learning among test practitioners. Compared with the automation of C/S architecture, B/S has its own disadvantages. Many advantages have been ignored, including industry development trends, R&D model characteristics, and testing tool support. Its overall complete ecosystem has far exceeded the testing value of the C/S architecture. Continuing from the previous article, we will continue to delve into the related usage methods and techniques of Selenium.
2. Description
The technology stack used in this article is Selenium+Python. Because it is not difficult to program, the overall idea is based on object-oriented programming concepts. Therefore, as long as everyone’s coding language foundation is not weak, it can be completely replaced.
3. Software installation
In the private message, a classmate mentioned that he hopes to also talk about the installation, use, precautions, etc. of tools related to automated testing of the Java technology stack. So starting from this article, I will use a certain amount of space to introduce it.
3.1 Selenium based on Python
The installation of Python is already a cliché. Just pay attention to installing version 3. If version 2 is too old, just give up here.
3.1.1 pip method
The first is to use the pip command to install selenium. First enter it in the cmd window pip install seleniumand wait for the installation to be successful.
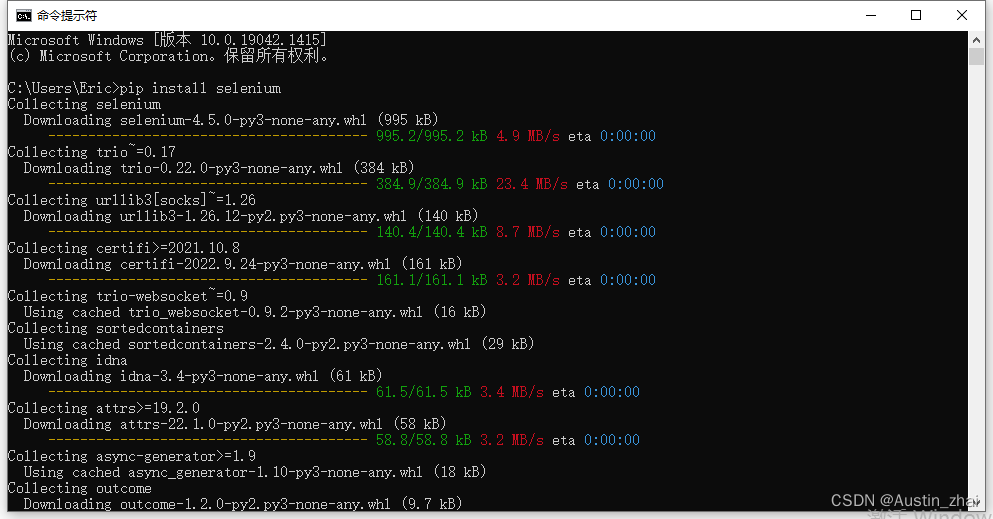
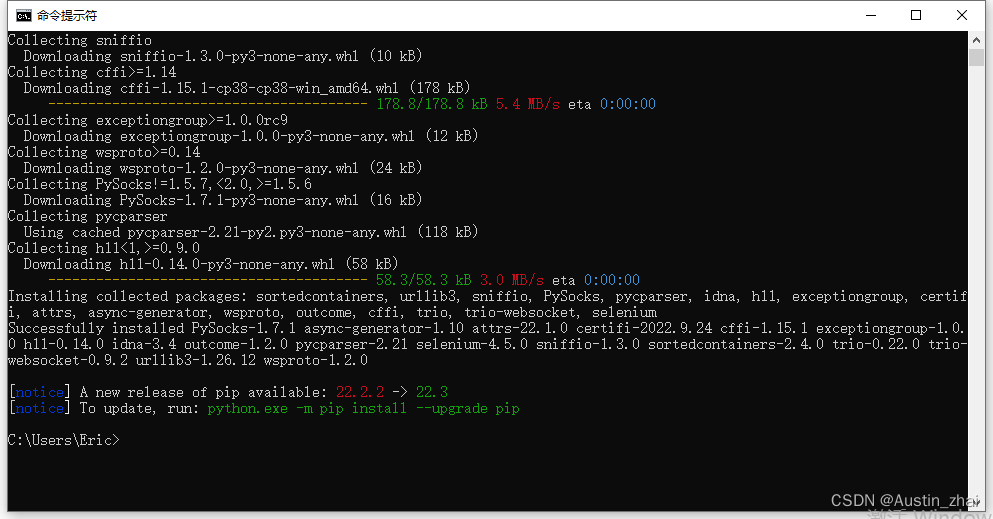
If the following information is displayed, the installation is successful.
3.1.2 IDE method
The second is to use various IDEs to install selenium. Here we mainly introduce the installation method in the mainstream IDE-Pycharm.
First, create a new project, File → New Project, and then set up the virtual environment yourself.
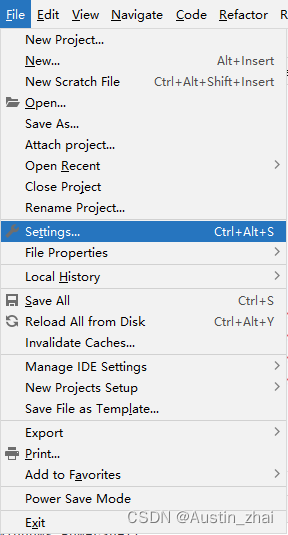
Next select File → Setting
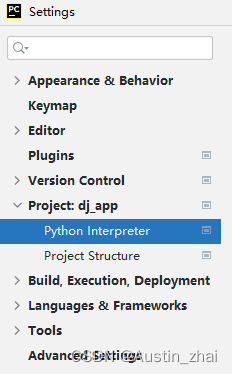
Select Python Interpreter in Project:XXX (XXX is your project name)
Wait for the list on the right to finish loading and click the plus sign on the upper left
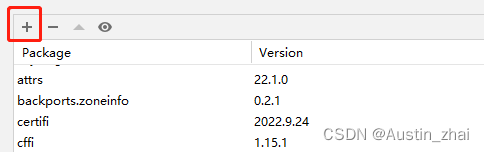
In the available package list interface, search for the selenium keyword.

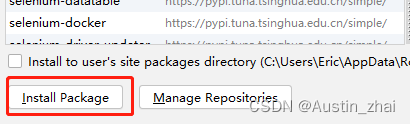
Pay attention to the version number of selenium and download it according to your needs. If you need to change the version, after searching for the selenium keyword, check Specify version below and select the required version to install.

Click the Install Package button to install it
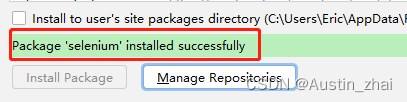
If the following information is displayed, the installation is successful.
3.2 Selenium based on Java
In the same way as Python, you can also follow the installation steps of Java on Baidu or read the tutorials in my previous "Road to Automated Testing - Appium Installation Tutorial" .
3.2.1 Maven configuration method
IDEA is used here to install and configure selenium. Eclipse will not be described here. It is also a popular choice on the Internet. Students who test it can make their own decisions.
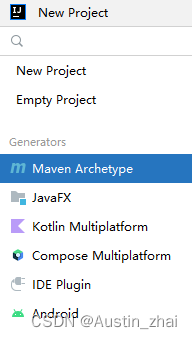
Similarly, first create a new project, File → New → Project…
Choose to create a Maven project
After adding the project, there are two ways to add it. The first one is to automatically import the package through the maven warehouse address.
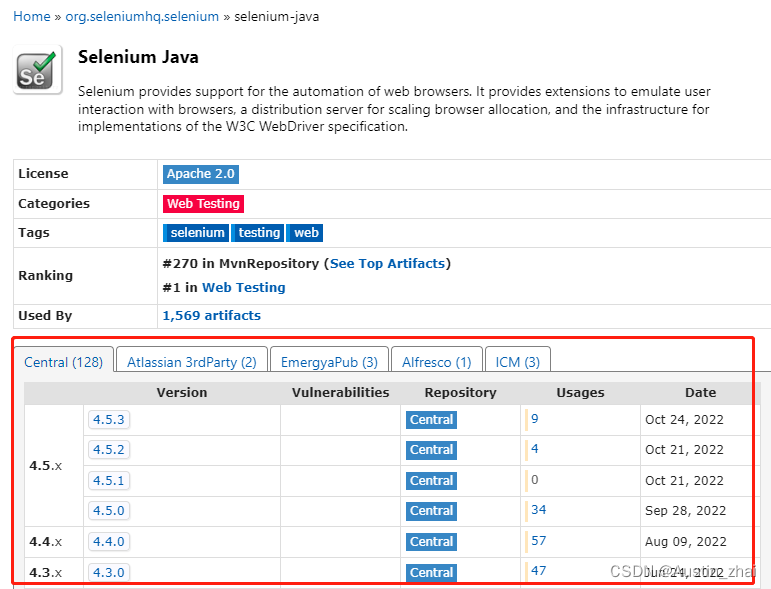
First visit the [Maven repository] and search for the selenium keyword

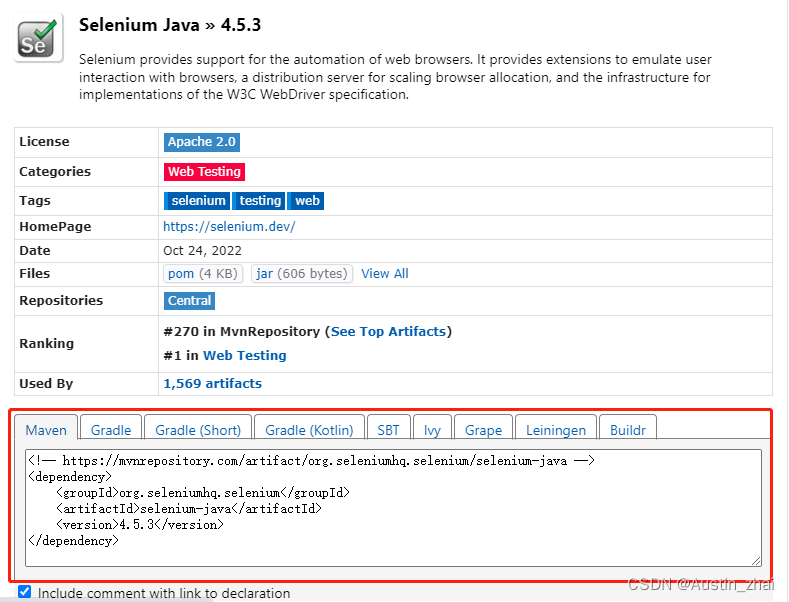
We enter Selenium Java and select the corresponding version required below.
After entering, select the maven configuration method and copy the contents of the Maven tag.
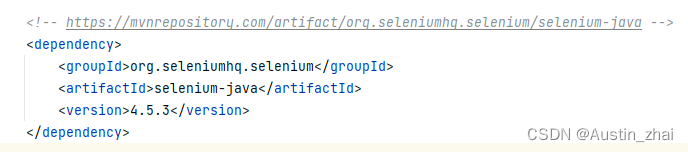
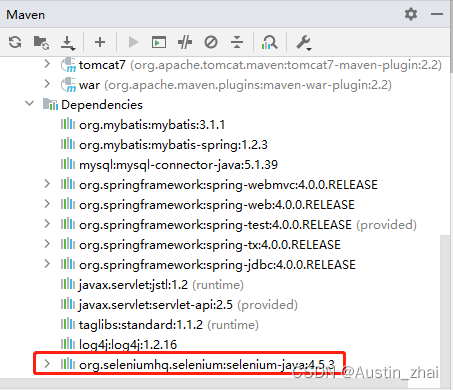
Copy the content to the project's pom.xml. Note here that the content needs to be placed within the dependencies tag pair. After copying, you will find that the content in the selenium tag pair is red. At this time, because the corresponding jar package has not been downloaded to the project through the address, the code will report an error accordingly.
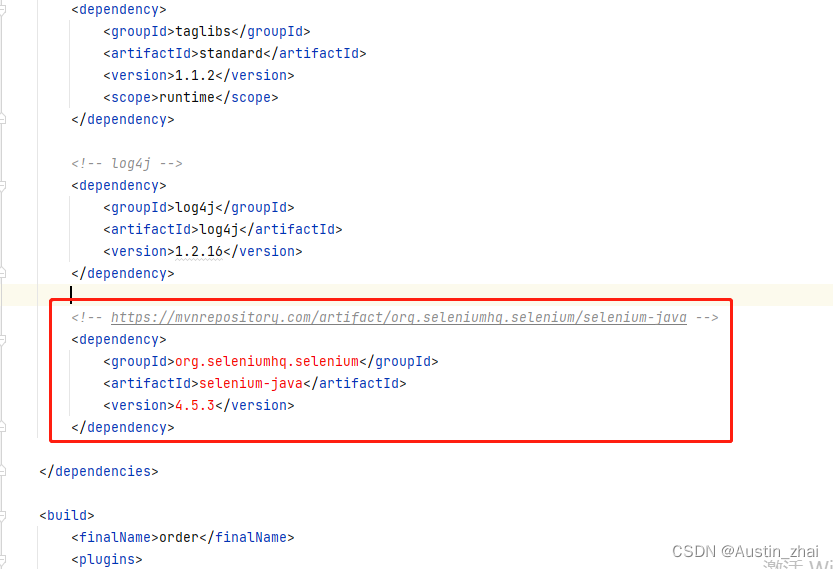
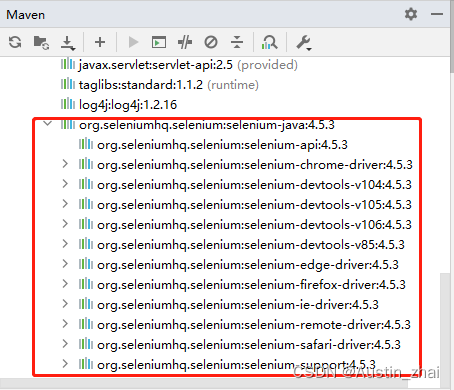
The corresponding settings will not take effect until the background download task is completed. We can view the corresponding selenium in the maven project window.
3.2.2 Project configuration method
The other is to download the jar package from the official website to configure the project module in the IDE.
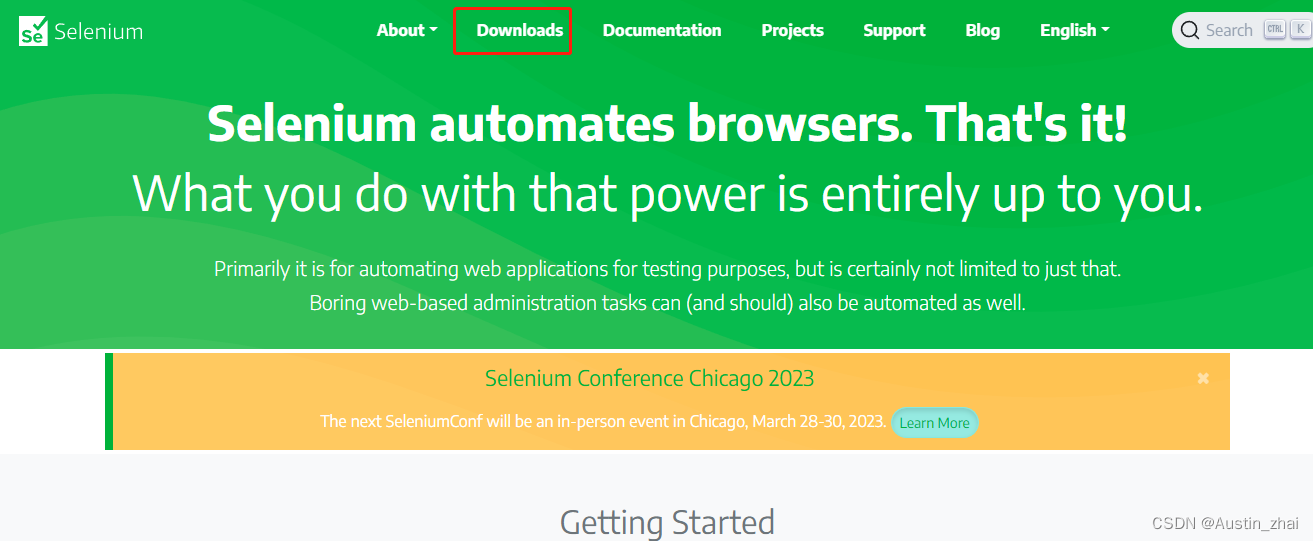
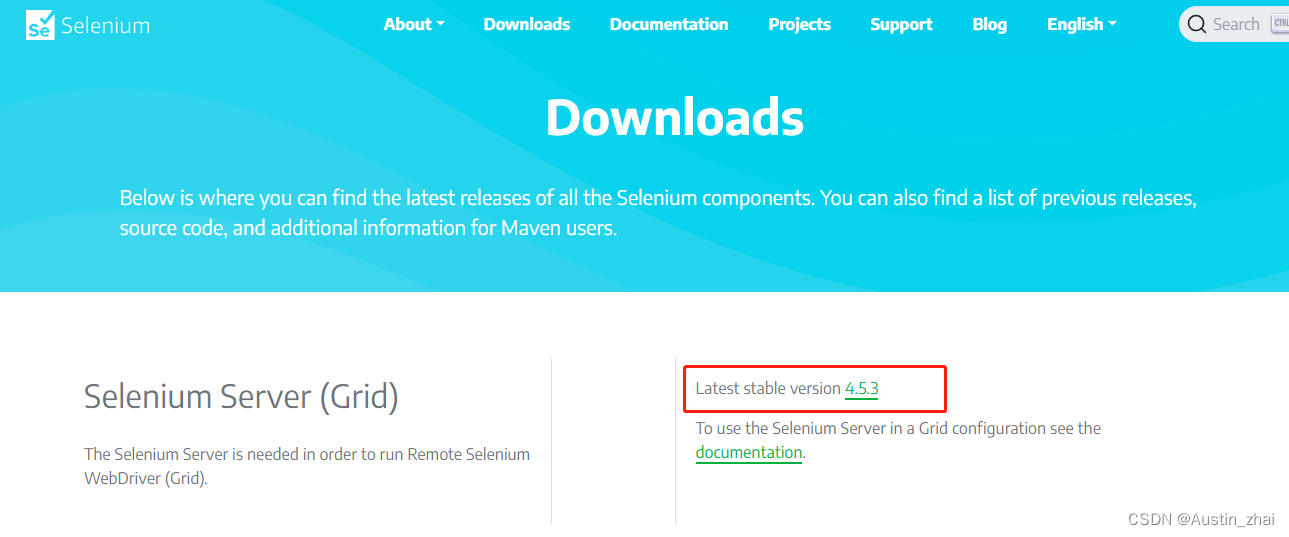
First enter [selenium official website] and enter the download page
Click on the latest version, or you can go to github and select the required version to download.
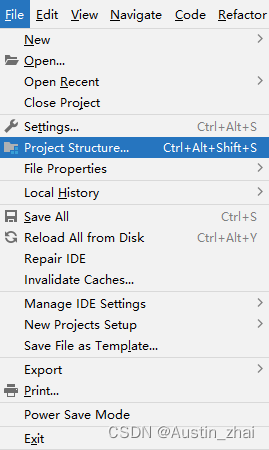
Enter IDEA and select File → Project Structure
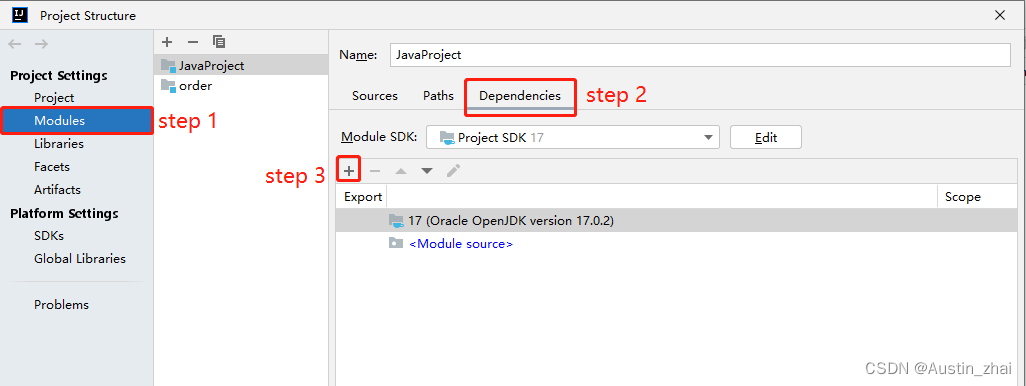
Then select the Modules option, click the Dependenies tab on the right, and finally click the plus sign below
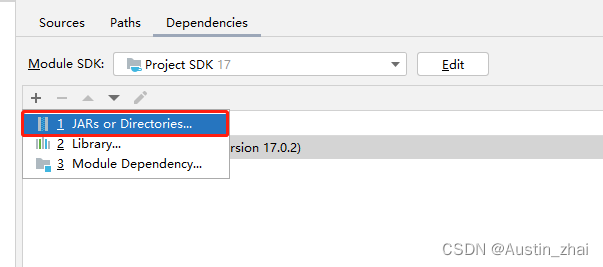
Select the first option and import the selenium jar package just downloaded from the official website.
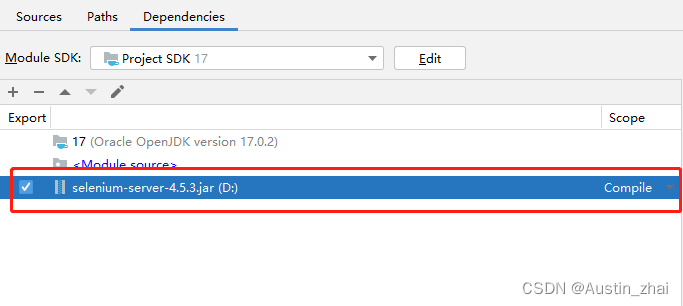
After loading, check the corresponding jar to make it effective.
4. WebDriver download and configuration
Here, you can choose the brand and version by adapting compatible browsers according to the needs of your respective business. Here we take Chrome as an example. Other mainstream browsers are slightly different, but the difference is not big.
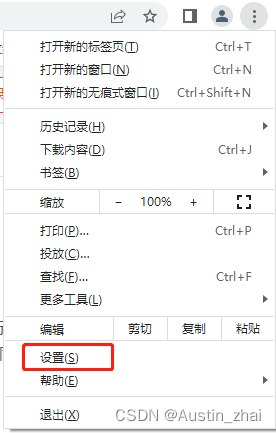
Go to the "Settings" option in the Chrome browser
Select "About Chrome" in the category bar on the left, and you can view the full version number of the browser on the right side of the interface.

After getting your own browser version number, you can download the WebDriver corresponding to the brand and version number. The download address is as follows:
Chrome WebDriver download address: [Chrome WebDriver Download]
FireFox WebDriver download address: [FireFox WebDriver Download]
IE WebDriver download address: [Internet Exploer WebDriver Download]
Edge WebDriver download address: [Edge Exploer WebDriver Download]
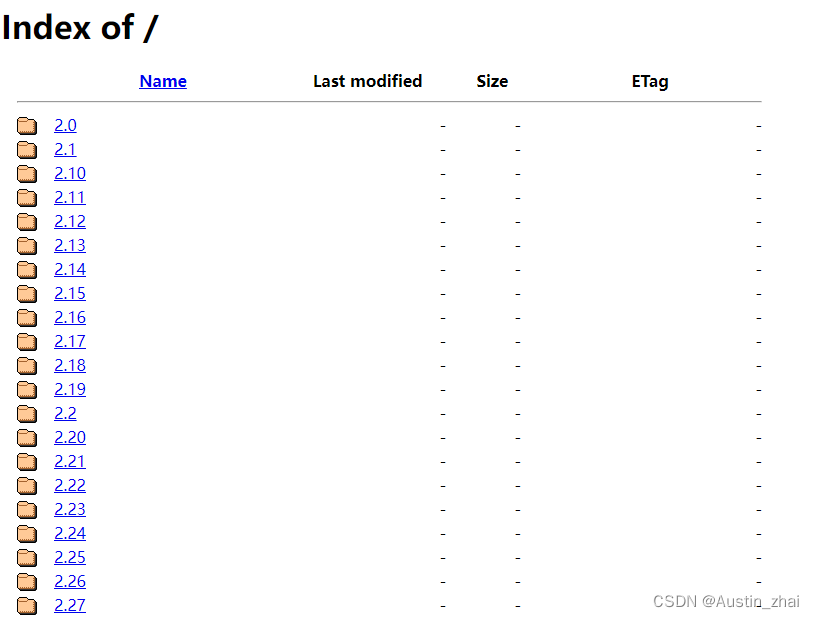
After entering the corresponding download page, click to enter the version number folder of the actual browser
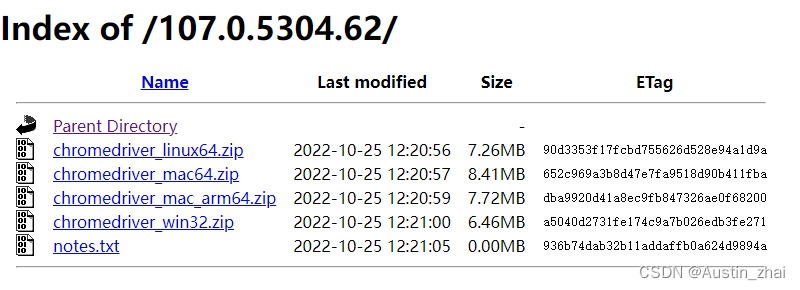
Select WebDriver under the corresponding operating system to download
After downloading, put the WebDriver into any path you specify and use the code to call it. Here you can set the corresponding WebDriver path as an environment variable, and the call will be more efficient.
5. Tips
- If you find it troublesome to download WebDriver in Python, you can try this [webdriver-manager · PyPI] ;
- When many students use the pip command, they often enter the python environment in the cmd window and then execute pip. Often, an error will be reported. Just open the cmd window directly and then use the pip command;
- To check the version on Chrome browser, you can also directly enter
chrome://versionthe corresponding version number in the address bar; - If your browser version cannot be found on the WebDriver website, or the file version at the end is smaller than your browser version, don't doubt that your browser is too new. WebDriver updates also take time, so you have to wait or change to a different version.