Easily set up a VPN server
Easily set up a VPN server
- Preface
With the diversification of work, the office space is not limited to the company or home. Sometimes we need to access intranet resources, and the Internet cannot directly access intranet resources. A common thing is to deploy a VPN [server](/search?q=server).
Today I will introduce an open source VPN software: OpenVPN
- step
Preparation
You can install it through the installation script. You can use any of the following methods to download the installation script.
⭕ Install directly through the script on the official website
Under Linux system, execute the following command
wget https://git.io/vpn -O openvpn-install.sh && bash openvpn-install.sh
⭕ Directly access github, copy the contents of the script locally, and generate an installation script
https://github.com/Nyr/openvpn-install/blob/master/openvpn-install.sh
⭕ A download address is provided here, you can download directly to the installation script, scan the code to download
Install
If you download the script, first upload the script to the Linux server and grant execution permissions.
chmod +x openvpn-install.sh
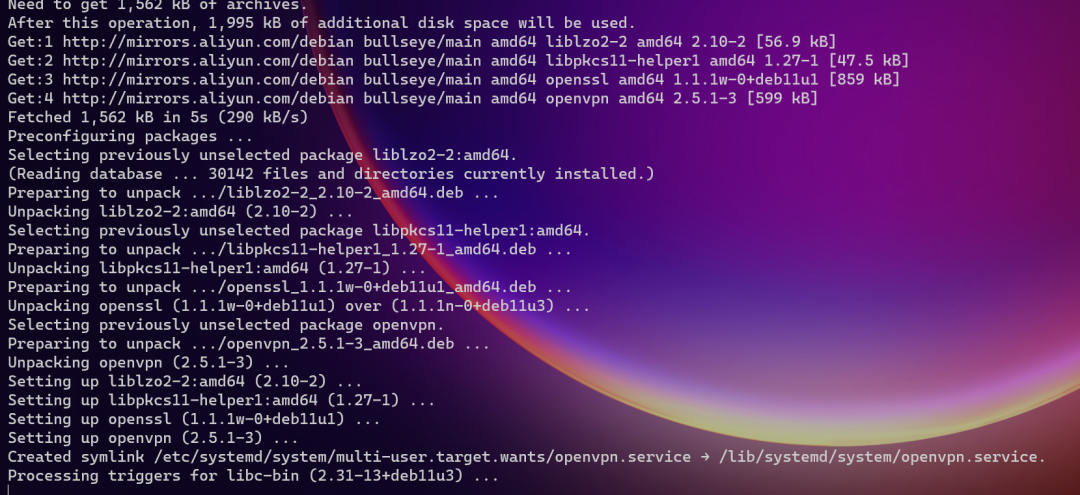
After executing the installation script, follow the prompts to set up
./openvpn-install.sh
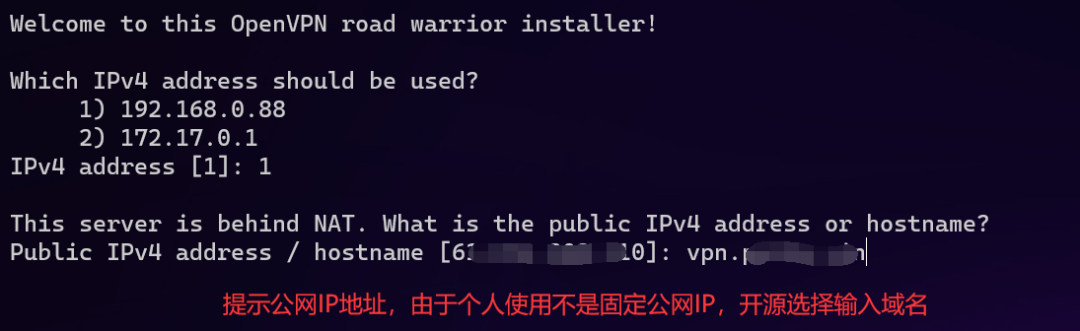
Select the server’s IP address

Set the IP address that can be accessed from the public network . If you have your own domain name, it is recommended to enter the domain name address.
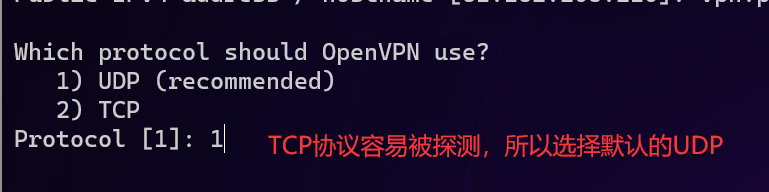
For security and not to be detected by the port, we choose the recommended UDP protocol
Enter the port of the VPN service, generally use the default one.

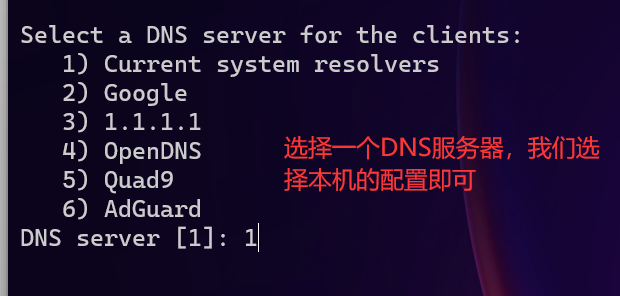
Select the DNS server. Generally, you can use the configuration of this machine.
The installation process will generate a client account, we enter one and press Enter

Press Enter to start installation

When the following message appears, the installation is successful.
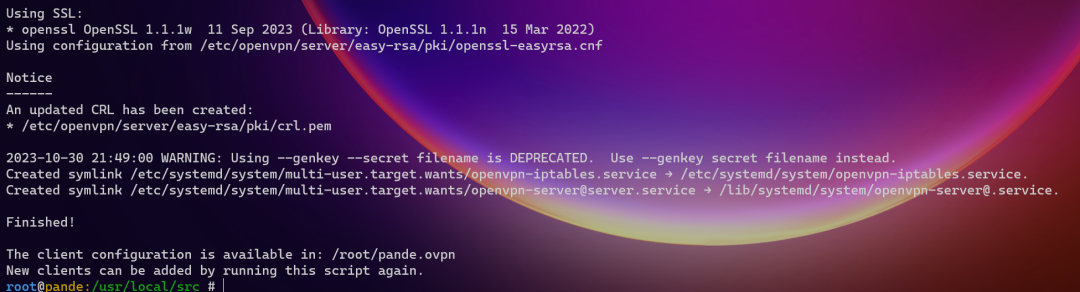
The penultimate line of the log prompts that the generated client account configuration file is saved in
/root/pande.ovpn
The client program needs this configuration file when connecting to VPN
- client program
Scan code to download

Or download from Baidu network disk

Extraction code: knef
- Configuration
****** server**
The configuration information of the service is stored in the following files
/etc/openvpn/server/server.conf
The service script is
systemctl status openvpn-server@server.service
client
The configuration file corresponding to the account generated during the installation process does not have a password.
/root/pande.ovpn
- client connection
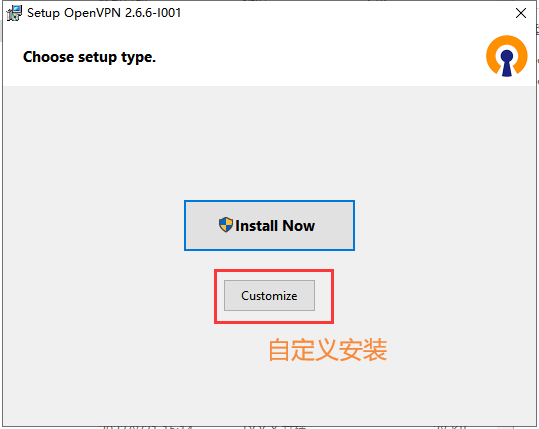
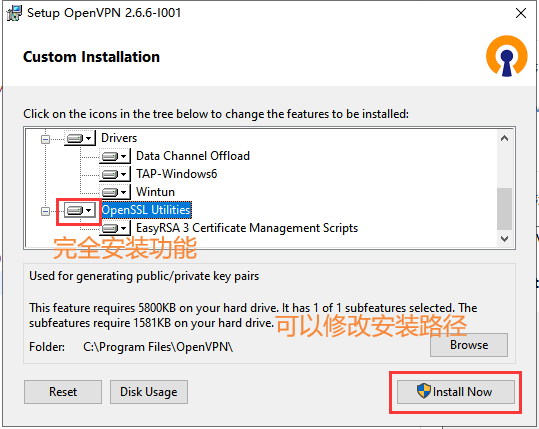
Install
Install the client program. The installation process is relatively simple and only takes a few steps to install.

Prompt that the configuration file of the client account needs to be placed in one of the directories.

Place the client configuration file into the configuration directory under the installation directory. In this example, put the /root/pande.ovpn file generated on the server into one of the above directories.
start up
Double-click the shortcut on the desktop to open the client program

Right-click the icon on the taskbar and select [Connect]

This will allow you to connect to the VPN server.
For more introduction, please visit the official website: https://github.com/Nyr/openvpn-install
- write at the end
After a few simple steps, we successfully set up a VPN server. For more configuration and usage, please refer to the introduction on the official website.
If you have any questions about the installation process, please leave a message.