Centos7 installs RabbitMQ3.10.7 Erlang 25.0.3
Centos7 installs RabbitMQ3.10.7 Erlang 25.0.3
Table of contents
1.Environment preparation
2. Install the precompiled component environment
3. Install and configure Erlang 25.0.3
4.Install the rabbit.xz installation package
5. Service startup
6.Create user
7. Memory modification
1.Environment preparation
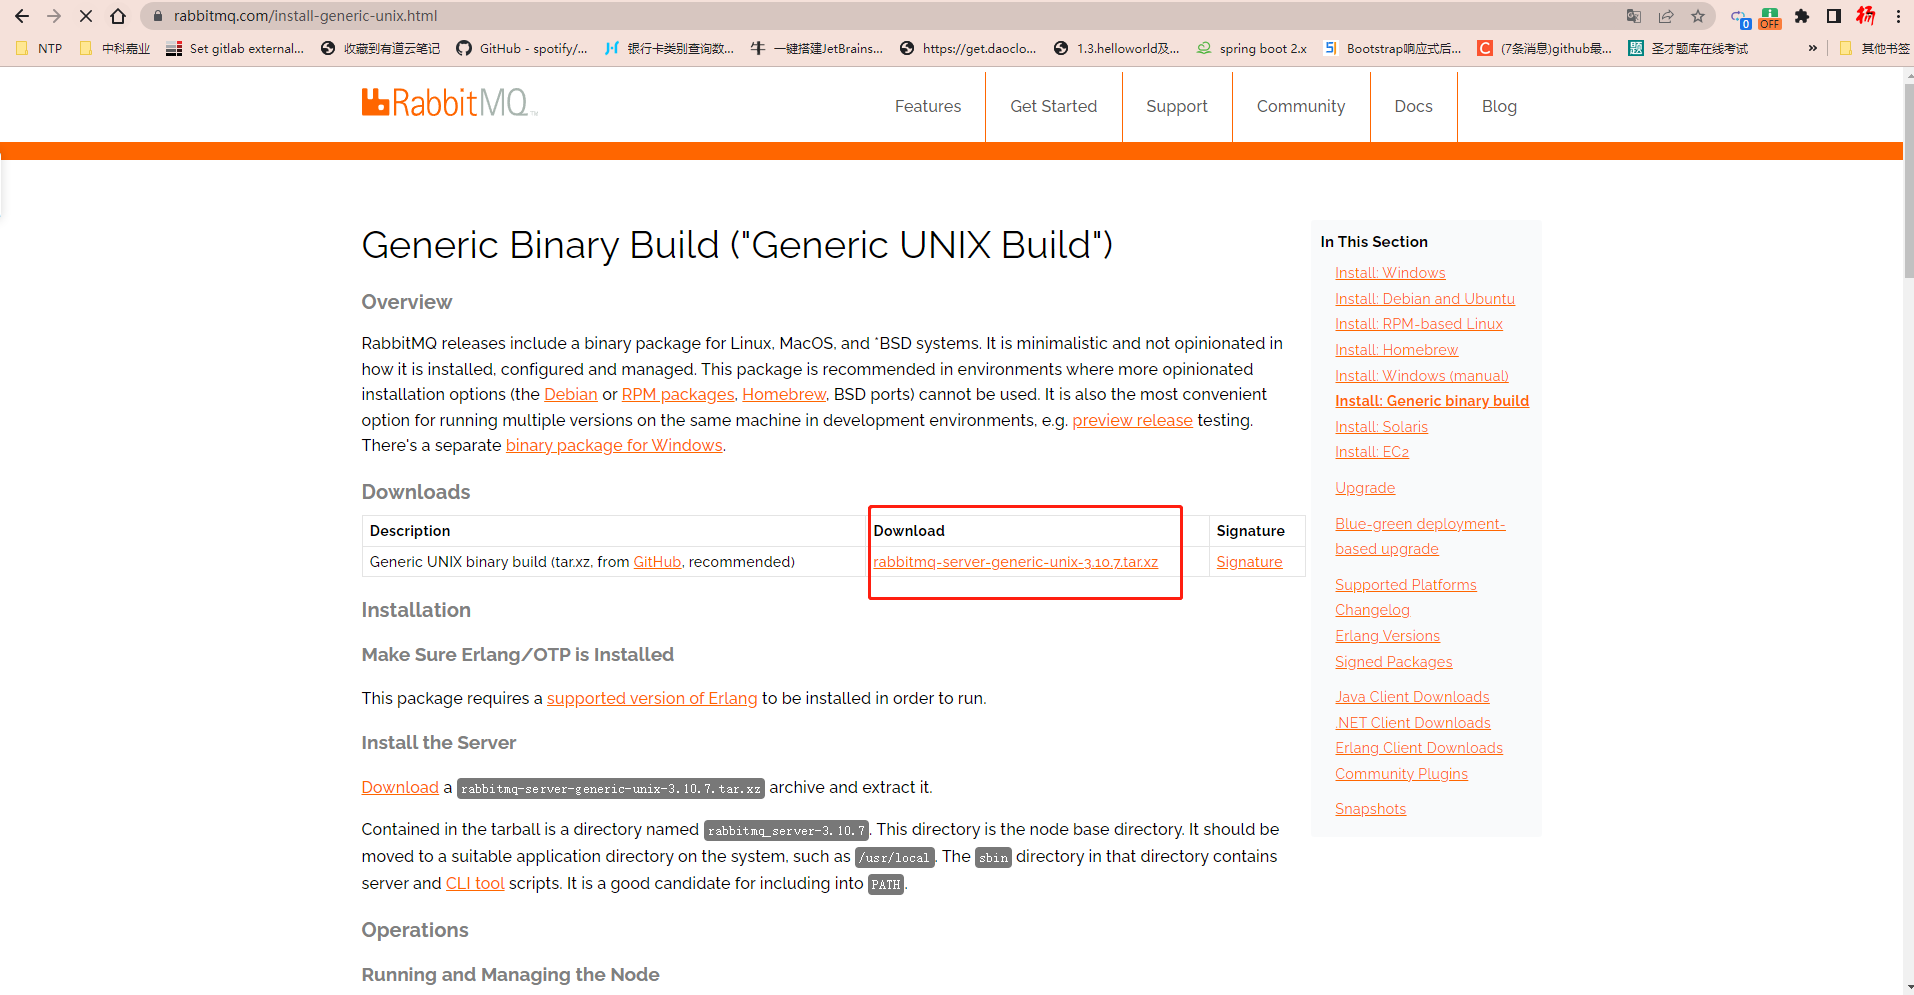
RabbitMQ3.10.7: Click to download
Erlang 25.0.3: Click to download
2. Install the precompiled component environment
    yum -y install gcc glibc-devel make ncurses-devel openssl-devel xmlto
    yum -y install unixODBC unixODBC-devel
    yum install centos-release-scl -y
    yum install unixODBC-devel
    yum install mesa-libGLU-devel-9.0.1-1.ky10.aarch64
    yum install mesa-libGLU-devel
    yum install mesa *
    yum install freeglut*
    yum install devtoolset-7 -y
3. Install and configure Erlang 25.0.3
    tar -zxvf otp_src_25.0.3.tar.gz
    cd otp_src_25.0.3/
    ./configure --prefix=/usr/local/[erlang](/search?q=erlang) #After this step, check whether it meets the installation environment. Remember to find what is missing and install it. Then proceed to the following compilation operation.
    make && make install
Configure Erlang environment variables
    cd /etc/profile.d/
    vimerlang.sh
Add the following configuration
#!/bin/bash
ERLANG_HOME=/usr/local/erlang
PATH=$ERLANG_HOME/bin:$PATH
export PATH
    Effective environment variables
    source /etc/profile
4.Install the rabbit.xz installation package
    xz -d [rabbitmq](/search?q=rabbitmq)-server-generic-unix-3.10.7.tar.xz
    tar -xvf rabbitmq-server-generic-unix-3.10.7.tar
Configure rabbitmq environment variables
    cd /etc/profile.d/
    vim rabbitmq.sh
Add the following configuration
#!/bin/bash
RABBIT_HOME=/usr/local/rabbitmq/rabbitmq_server-3.10.7
PATH=$RABBIT_HOME/sbin:$PATH
export PATH
    Effective environment variables
    source /etc/profile
5. Service startup
rabbitmq-server-detached
rabbitmqctl status
rabbitmq-plugins enable rabbitmq_management
6.Create user
    # Add the admin user and set the password to admin.
    sudo rabbitmqctl add_user admin admin
    # Grant permissions
    sudo rabbitmqctl set_user_tags admin administrator
    #Give configuration, write, and read permissions to all resources in the virtual host to manage the resources therein
    sudo rabbitmqctl set_permissions -p /admin '.*' '.*' '.*'
    # View user column list
    sudo rabbitmqctl list_users
    # Delete user
    $ sudo rabbitmqctl delete_user admin
7. Memory modification
For this content, I suggest you go to the official website instead of Baidu. It’s a bunch of content and of no use rabbit-configure: Click to view
       1. rabbitmqctl set_vm_memory_high_watermark <fraction>

      2. rabbitmqctl set_vm_memory_high_watermark absolute 50MB
8. Version problem
Recently, several people have left messages saying that problems occurred after installing according to the blog. The solutions are given below:
1. Check the component installation version to see if it is consistent with mine. If it is inconsistent, delete it.
2. Refer to my blog: 2.2.7 Uninstall RabbitMQ to uninstall and reinstall